How to make materials for lessons on the Montessori method with your own hands?
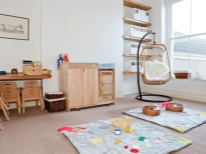
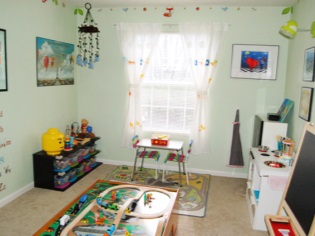
The Montessori method is popular even after more than 100 years. According to this method, it is necessary to provide the child with complete freedom, providing him with the most prepared environment. The developing environment should contain a variety of materials for the sensitive development of the baby. It is possible to make such materials for practicing using your own hands.
Learn more about the features of the Montessori method You can from another article or watch the following video.
Making materials for doing their own hands
Each of us knows that children grow and develop very quickly. In order for their development to take place, it is interesting for kids to constantly need new educational toys that will correspond to their level. If you have chosen the Montessori education system, then you will need special materials to prepare the child’s developing environment.
In the shops you can find a huge selection of materials suitable for the Montessori development environment that are not difficult to make at home. You will not spend much time on this, but at the same time you will save a significant part of the family budget.
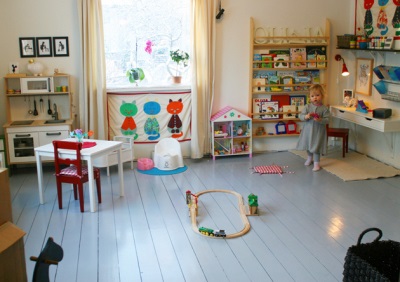
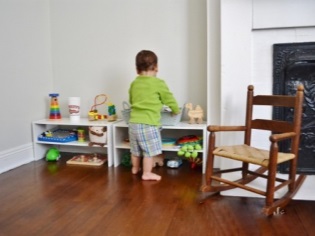
First of all, you should conduct an audit among the toys of your crumbs. This will help you understand what materials you have plenty and what needs to be done. Arrange the materials that are suitable for the class at an accessible height for the child. Consider the division of space into zones, which is supposed to system Montessori.
Now you can get to work on crafts.
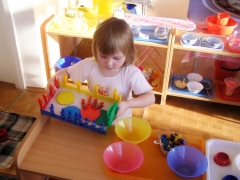
We make frames inserts
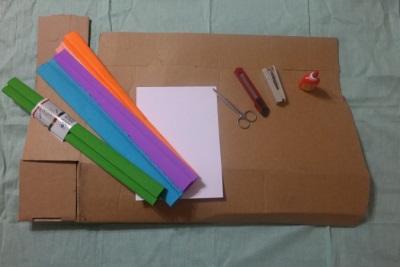
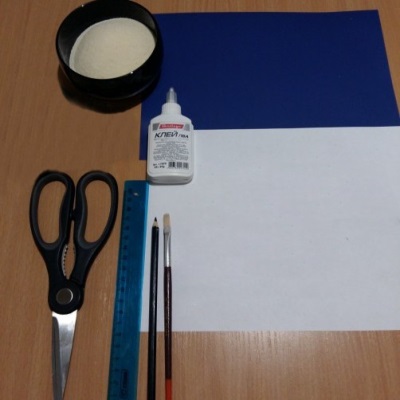
In order to make your own liners you need:
- thick cardboard (shoe boxes or corrugated cardboard suitable);
- colored or self-adhesive paper;
- drawing paper for the base or other suitable material;
- buttons or beads;
- wire;
- scissors, stationery knife;
- glue;
- pencil;
- ruler;
- compass.
How to do:
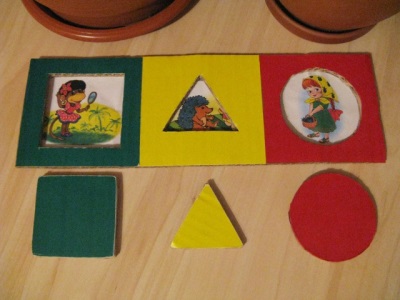
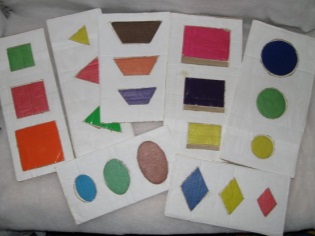
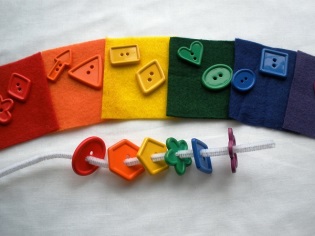
- Cut out cardboard equal rectangles. The number of rectangles is determined by the number of forms with which you will acquaint the baby. For a one-year-old child, 4 basic figures will suffice: a circle, a square, a triangle, a rectangle.
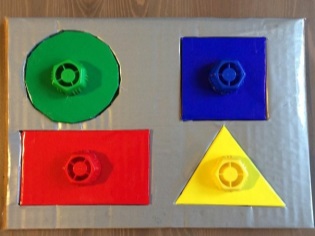
- In each rectangle using a stationery knife, cut several identical shapes, differing in size.
- Cover them with colored or self-adhesive paper. Try to make sure that all the figures of the same shape are covered with different colors.
- For each liner in the middle, fasten a button or a bead with a wire. This makes it easier for the baby to use them.
- Glue the resulting frame to the base.
Your liners are ready. You can conduct a lesson. With this frame, you can learn colors, geometric shapes with a baby, learn how to compare objects by size. This manual is intended for children from the year.
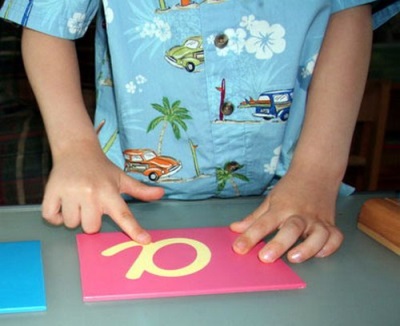
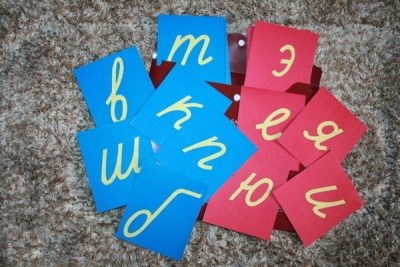
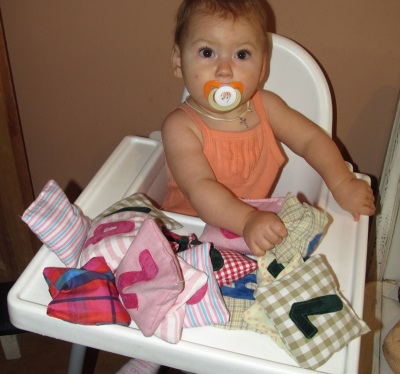
Rough letters
For the manufacture of letters will require:
- thin sheets of blue and red paper (color printer paper);
- stencils of lowercase uppercase letters;
- thick cardboard;
- PVA glue;
- glue stick;
- scissors;
- pencil;
- ruler;
- semolina
Master:
- Draw sheets into rectangles of equal size. Blue rectangles by the number of consonant letters, red - vowels, as Maria Montessori herself advised.
- In each rectangle we trace a letter in a stencil.
These 2 items can be performed on a computer and print ready sheets.
- Glue the sheets to the cardboard. Cardboard should be taken as tightly as possible, sheets of drawing paper will not fit. It would be better to make it with glue-pencil, it lays down more evenly.
- Put under a press and allow to dry well.
- Now cut into separate cards.
- On the contour of the letters, apply the PVA glue and sprinkle with semolina. Too thick layer should not be done.
- We shake off the excess semolina and correct where necessary.
- We start drying. For this card is better to fix from all angles. You can use a sheet of hardboard, drywall, corrugated cardboard from the boxes. Every corner is pinned with pins. If the cards are not fixed, then it is likely that they will twist or bend.
- We apply the second layer of PVA glue and let it dry again. The second layer is necessary so that the semolina does not crumble from the letters during the lessons.
The following video shows a small master class on the preparation of numbers in the manner outlined above.
Starting to use the manual is better not earlier than 3-4 years. With his help, the child will develop direct associations of sounds and letters, memorize the names of letters and their spelling, prepare for the subsequent writing and reading, he will develop fine motor skills. It is very important to follow the correct outline of the letter, as when writing. If the child does not correctly, you must stop him and show it again. If now the child remembers the incorrect spelling of the letter, then later in writing he will write it the same way.
Touch Bags
Would need:
- natural fabric (for example, satin);
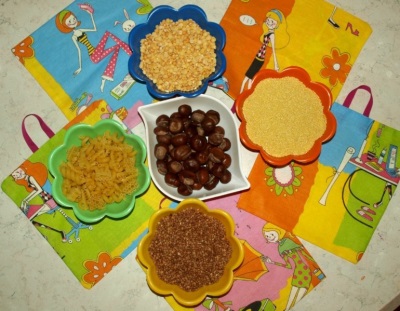
- a variety of cereals, you can use buckwheat, beans, peas, rice, millet, semolina;
- pasta;
- scissors;
- threads;
- ruler;
- pins;
- spoon.
How to do:
- Cut the fabric for the bags, pick up the sizes yourself. Make the length of the cut fabric equal to two lengths of the bag and add 1 cm to the seams.
- We fold the fabric for one bag in half, the front side should be inside.
- Sew side seams and upper seam half. Secure the thread at the beginning and end of the line.
- Cut corners.
- Turn and iron.
- Grind cereals in the oven for 20 minutes. This will help avoid bugs in the future.
- Pour the cereal into the bags. For each bag, use only one type of cereal, the weight of each bag should be the same as the others.
- Sew the upper seam to the end and you can give the toy to the child.
Another option is the preparation of sensory pouches in the video below.
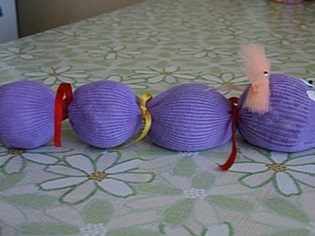
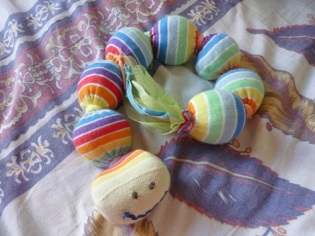
You can simplify the process of creating bags, making them in the form of a fun caterpillar.
To do this, cut off from the loose tights the desired length. Pour one type of cereal into the sock and tie a knot. It should make a tight ball. Now we fall asleep the next kind of cereal and knot it again. This should be done with each type of cereal. The last ball can be filled with plastic wrap or bags for rustling. Sew the tail of the caterpillar, making it. From the side of the sock decorate the muzzle. For the eyes, you can use beads, for the mouth - a small patch of red matter. You can make the antennae of wire and beads.
Such toys are suitable for children from a very early age. With their help, tactile sensations, fine motor skills and crumbs' attention will develop perfectly. Also, due to the different sound, the use of tactile pouches will contribute to the development of hearing.
Mobil
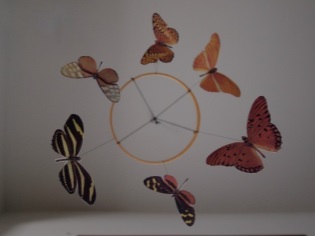
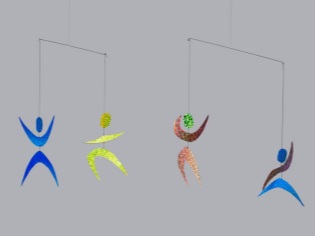
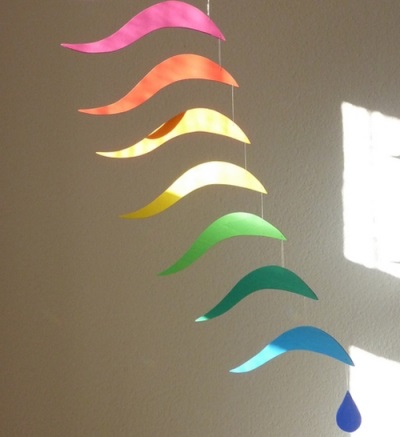
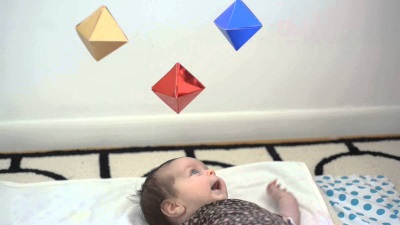
The Montessori system provides for the use of mobiles for newborns. However, they are not at all like the ones you might find on sale. Montessori-mobiles are distinguished by clear forms, calm colors, crisp colors, lack of music and rapid rotation of details.
Forms are selected abstract, the movement is carried out with the help of air flow, smoothly and naturally. Behind such a pace of movements, it is easier to watch and focus the baby.
We offer to make a mobile hexagon, a classic Montessori mobile.
We will need:
- 3 sheets of thick colored cardboard, select the primary colors: red, blue, yellow;
- scissors;
- ruler;
- glue;
- tape;
- light wooden stick.
How to do:
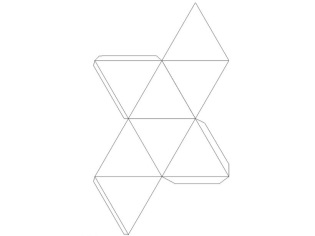
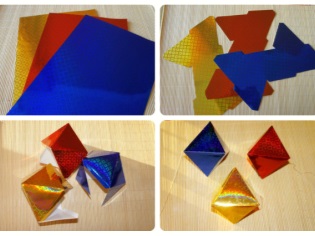
- On sheets to print reamers hex. It can be printed on thin paper and pasted onto cardboard. After that, dry under pressure.
- Handle the places of the bends with a ruler and scissors, so that they are well bent.
- Cut scan.
- Assemble the hexagon and glue in the joints.
- Secure the tape in one of the seams.
- On the other side of the ribbon is tied to a wooden stick. Make sure the wand is smooth.
- Fix the mobile at a distance of 20-25 cm above the child’s head, but not directly above the face.
In the video below you can see how to make a hexagon for a mobile using origami technique.
Such a mobile can be offered to a baby from 3 months. With his help, he will learn to focus his eyes on moving objects, follow them with his eyes, perceive color and shape.
Stand (board)
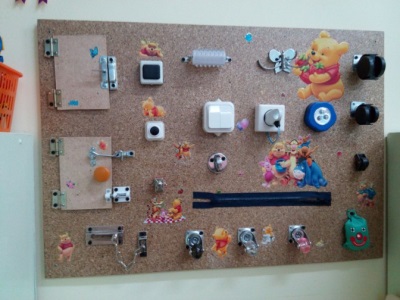
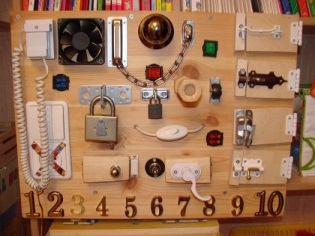
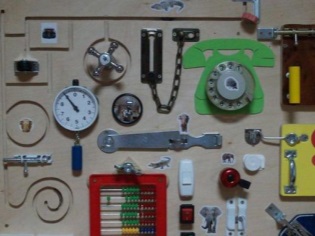
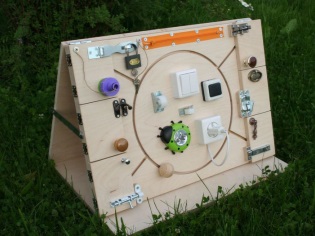
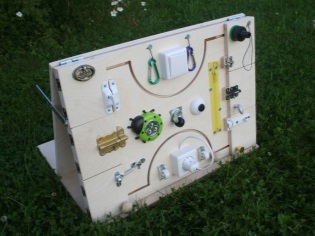
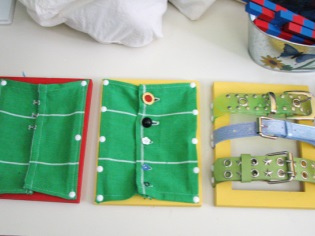
Stands on Montessori in the modern world is also called business skis. These are the so-called educational boards, on which you can fix everything in life under the ban for the baby. With the help of them, the baby will be enthusiastically acquainted with home life.
In order to make your own stand using the Montessori method, you will need:
- DSP or any board;
- self-tapping screws;
- glue moment;
- various door locks with a key, a chain, a combination lock, a bell, switches, a socket with a plug, disks from old stationary phones, a latch for window leaves, a window latch, a zipper, buttons, velcro, buttons, lacing, movable hooks, a massager for hands, padlock, carabiner, sensory bags of cereals - in general, all that in life you do not trust the crumbs and that will tell your imagination.
How to do:
It is necessary to fix the elements of bizybord on the board. You may well come up with a plot for it and act in accordance with it. You can simply use in the scattered form, all those elements that were found in your home. The more items you arrange, the more the baby stand will entice.
The following video presents a small video review of handmade bizybord.
This educational game is suitable for children from 2 to 7 years. However, it will be able to interest the little researcher earlier. Playing a child learns to open and close locks, use sockets and switches, works with lacing and various fasteners. At the same time fine motor skills, attention, perseverance develop very well. The kid learns to find solutions to various everyday problems, satisfies his cognitive interest. At the same time, he gets the freedom of choice and can work only with some one element or switch to different ones.
You can find an idea how to make an interesting bizikub in the next video.
Touch pad
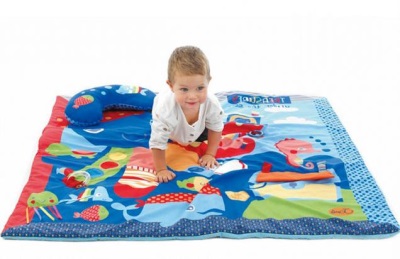
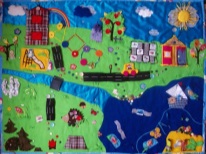
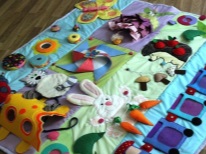
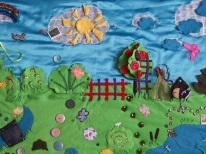
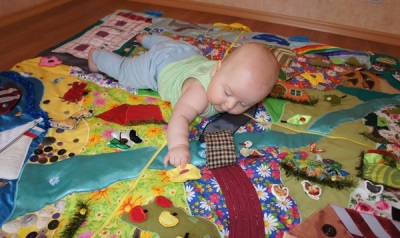
Such a rug will be fun for the crumbs for a long time, because there are many surprises on it. Sew such a rug possible from fabric cuts, old clothes, pieces of fabric of different textures. Any accessories, hooks, zippers, applications, velcro fasteners, buttons, and belt buckles will do.
To begin with, sew the base of the future mat according to the planned dimensions. As a filler, you can use a synthetic winterizer. We can also use a thin flannelette blanket as a basis.
Next, turn on the imagination and think about the sketch of the future rug. The rug can combine fabrics of different textures, you can sew patch pockets on various fasteners, in which cartoon characters will hide (ready-made applications can be put inside the pocket), make non-opening pockets (or hide under appliqués) with various cereals (pre-heat the grains in the oven ), rustling plastic bags, sew tweeters that make a sound when you click on them.
All that is left for you to do is to bring your sketch to life.
See a small video review of the finished touch pad for kids.
This mat will contribute to the development of sensory crumbs. With it, the baby will develop fine motor skills, tactile sensation, will get acquainted and will learn to use various attachments. Suitable for an 8 month old baby and older.
Pyramid "pillows"
In order to make such a pyramid you will need:
- fabrics of different colors;
- Velcro fasteners;
- Stuffing materials - synthetic winterizer, mica or polyethylene, buckwheat, toys from kinders, macaroni.
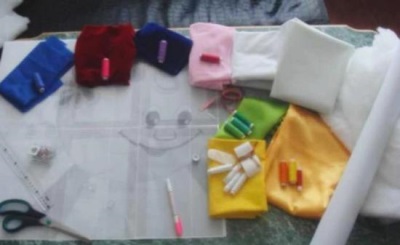
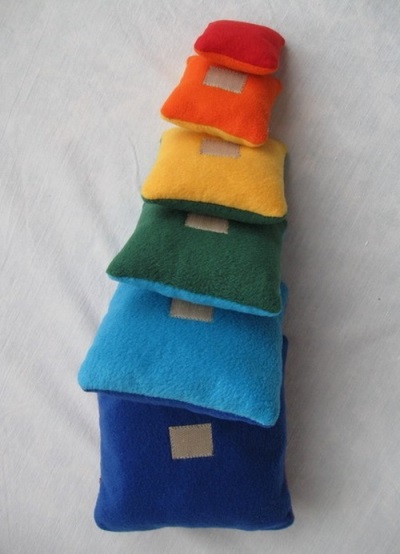
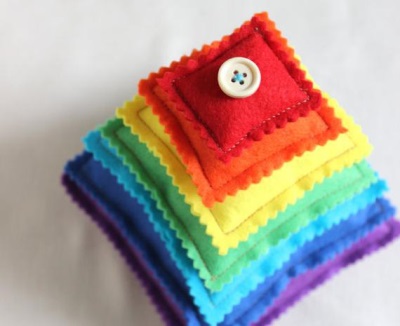
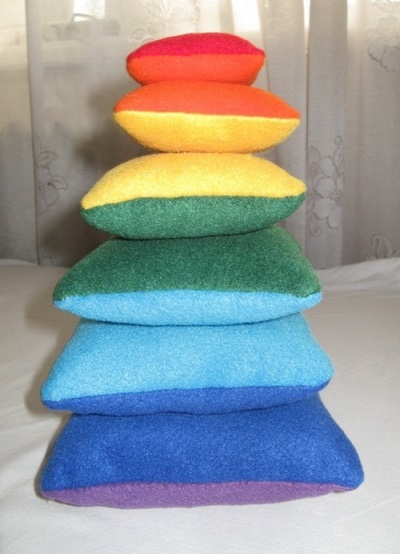
Cut 2 squares out of the fabric. Keep in mind that pillows can be made in different sizes and colors. In this case, you will need to calculate the size of the square and the color, so that the adjacent sides of the pads are the same color. For example, for the base of the pyramid we make a square with a side of 12 cm. We will make the bottom of the square red, the top let it be green. The sides of the next square will be 11 cm in size. We sew the bottom of this square in green, and the top in yellow, make the third square with sides of 10 cm, the bottom in yellow, and choose the top yourself and continue in this sequence.
On the front side of the fabric squares sew Velcro. On the one hand, the future pillow is a hard part of linden, on the other - soft. We fold 2 squares of one cushion facing each other and flush completely from 3 sides, and on the 4 side we leave a small section open. We will need it to fill the pillow.
Wrap the pillow and fill with filler. For the largest bottom cushion, use the heaviest filler (for example, buckwheat) to give stability to the pyramid. After filling, we sew the section that remained open. One pillow is ready.
In the same way we sew the rest of the pillows for the pyramid. Use for them easier fillers.
The pyramid is ready and you can give it to the use of the child.
Such pyramids will be very happy children, starting from 1-2 years. It will help kids learn colors, will contribute to the development of tactile perception, will help to form an understanding of the concepts of "more" and "less."
Games with clothespins or colored hedgehogs
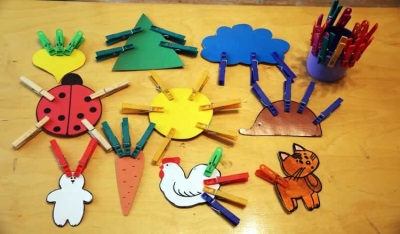
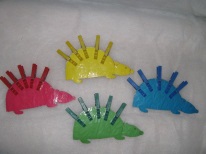
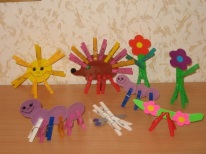
This manual will be the easiest to make. You will need to cut out the shapes of any figures from colored cardboard. After this, the child completes the missing elements with the help of clothespins. You can cut a circle for the sun, a cloud for the rain, a triangle for the Christmas tree, a hedgehog and make it needles, make paws and a tail for the birds and animals. The kid will be able to help you decorate the figures by painting their eyes and coloring them.
Try to choose clothespins to match the color of the figure. Then the child will not only develop fine motor skills by studying with this material, but also learn basic colors. For rays of the sun, use yellow clothespins, for rain to a cloud let the crumb find blue clothespins, for the green triangle from which you plan to make a Christmas tree, ask for green clothespins.
As you can see, a lot of Montessori materials are easily made by hand. To make them you don’t have to buy a lot, mostly toys are made from improvised means. In stores, the analogs of these didactic games will cost you very expensive.
Watch the following video with Montessori activities for toddlers.
