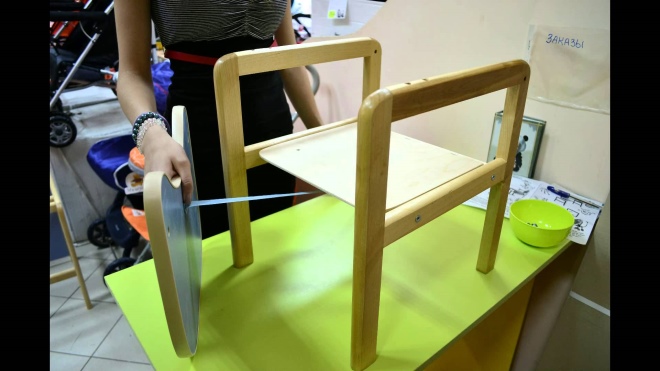
Baby chair do it yourself
Difficulties in childcare are largely due to the fact that buying everything you need can be quite a daunting task for the family budget. Another question is whether parents manage to find exactly what they would like in the stores, or in fact there is nothing ideally suitable among the assortment. Both reasons, which do not give to purchase one or another product, somehow suggest the idea that it would be nice to make it yourself. For example, a highchair - if dad has enough experience with various tools, he may well make it with his own hands.
Special features
Contrary to seeming simplicity, a highchair with your own hands is not so simple a task as to perform it without any preparation. Do not proceed to work until you have a clear understanding of how the final result should look, and what operations will have to be performed for this.
Also, do not ignore the calculations. Any chair should be strong enough to withstand its “passenger”, and the child, though not heavy, but will not sit on it carefully, especially since the size of such furniture is also small.
Strength requirements are relevant not only for basic materials, but also for fasteners, whether it be self-tapping screws, glue or grooves. In addition, the baby is constantly growing, and it makes sense to make a high chair with a margin of at least a couple of years ahead. With all its strength, the product should be comfortable, that is approximately correspond to the dimensions of the owner.
Also try to ensure the proper ease of the furniture being made - the owner should be comfortable to independently move his chair to where he wants to sit at the moment.
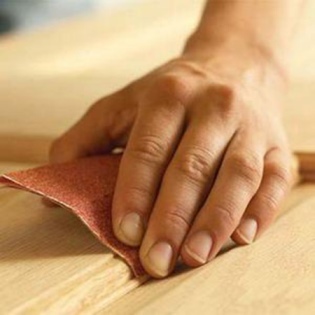
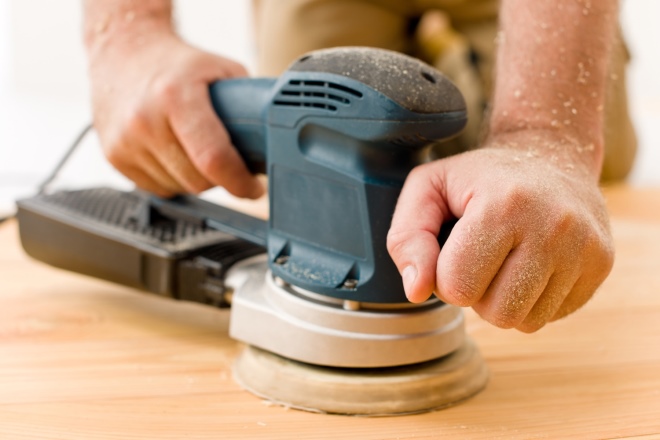
Do not forget to monitor security. Furniture, in any case, can not be traumatic, and children - and even more so. The presence of any sharp edges is not allowed, and if the main material is wood, as happens in most cases, then it must be carefully polished to avoid delamination of splinters. Covering the finished product with varnish or paint, give preference to natural - children tend to drag everything in your mouth, and can be poisoned by a toxic coating.
Finally, remember that this chair is for a child. In addition to the appropriate size, the piece of furniture it is desirable to be also beautiful. If complex decor - the task is not for you, try to at least paint it in bright colors.
Drawings, sizes, schemes
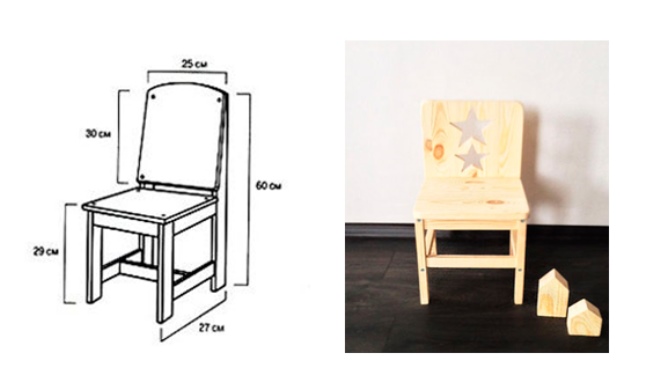
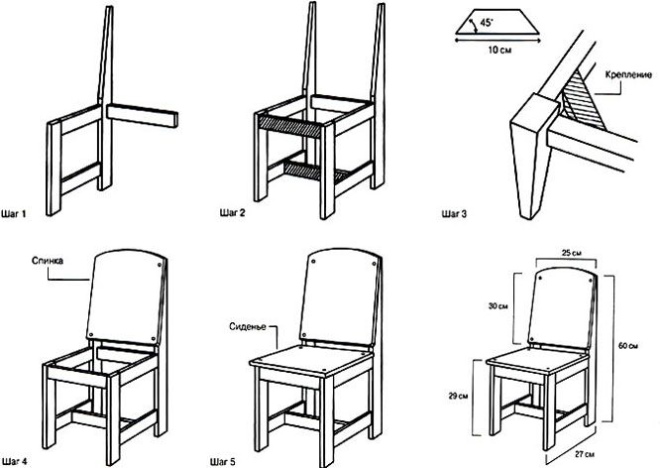
Before proceeding directly to the manufacture of parts, it is necessary to make a drawing with dimensions - only this way all the components will be ideally suited to one another. You can use one of those ready-made options that are already laid out in the World Wide Web, and draw up a diagram yourself. It is important to note that there are drawings and instructions on the Internet explaining how to make a table and a chair of a standard type, so they are usually not suitable for those who want to create something original - for example, an elephant chair.
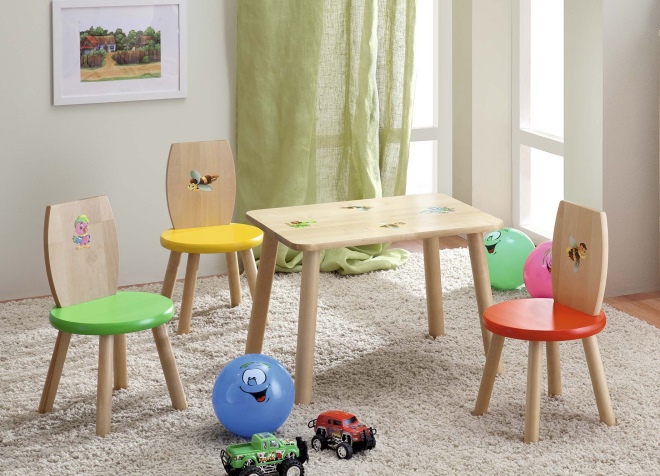
- Drawing table and chairs, which can be made in the form of a kit, it is not necessary to strictly follow the principles of drawing: they do not have so many details that they cannot be kept in mind. For us, the main thing is to make all the sizes fit together, and the parts ideally dock with one another, but the ways of connecting the individual parts must be present in the drawing. In general, it can be presented schematically, without high accuracy of the pattern.
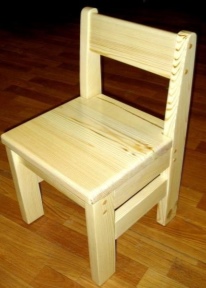
- Think over the dimensions (or choose ready-made drawings on their basis), starting from the convenience of the child. Comfortable are those chairs, the seat of which is at the level of the knee or slightly lower. In the case of a high chair, it is recommended to make the seat a little taller, because the child will probably still grow. Do not overdo it: if the baby is difficult to climb on the seat, then the product can be considered unsuccessful.
- Determining the size of the seat itself, keep in mind that the owner should fit on it freely, but do not make it too big - it will make the chair heavier and it will be difficult to carry. The normal height of the back - about two-thirds or three-quarters of the back of the owner, to make it above the neck is already impractical. When determining the thickness of future parts, rely only on the strength of the selected material and the weight of the child.
Materials
By simplicity of processing and environmental friendliness among materials for the manufacture of children's furniture, the palm is undoubtedly held by wood and its derivatives. Therefore, the most often you can find a wooden chair. However, you can not choose any tree - here, too, should think about before proceeding to the manufacture. The most popular among all types of wood is beech. It has the strength, resembling oak, but it is easier to process, and it costs less. In general, it is deciduous species that are considered priority. Of the inexpensive options are often chosen birch, you can also consider linden.
Spruce and pine are suitable for making furniture made from softwood, but the resin contained in any such wood is dangerous - it can wipe clothes, and it can also pose a threat to health. Regardless of the specific breed, choose a homogeneous tree, without knots and cracks, with a smooth texture.
Seating material may be similar to the material of the body, and may be fundamentally different. In order to save and achieve greater flexibility, the seat is also made of plywood, and even of chipboard. Choosing them, give preference to only the most durable species, but remember that in any case they are inferior in durability to whole natural wood.
For increased softness, the seat can be additionally equipped with a small foam pad, covered with a nice touch fabric.
There is also the option of sitting, as made from plastic bottles - both whole and sliced. Harmful plastic, which is present in the form of garbage in any apartment and pollutes the environment, could get a second life, especially since its strength and durability is very high. This option is still much less common due to the difficulty of securing the individual parts, as well as the not very attractive appearance of the finished product.
Colors and decor
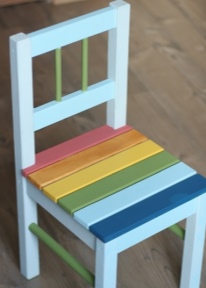
With all its practicality and convenience, the chair will definitely not like the baby if it cannot be described with the word “beautiful”. Nobody makes any special chairs for teenagers, but brightness and attractiveness are very important for young children. Therefore, do not limit yourself to colorless varnish or low-key monochromatic solutions. A single-color color is generally admissible only if a light or very bright shade is chosen - often it is red or yellow, the so-called “warm” tones.
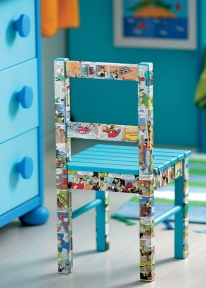
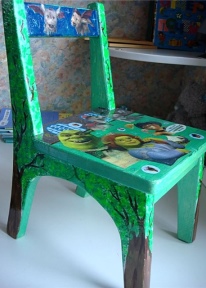
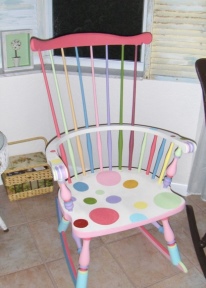
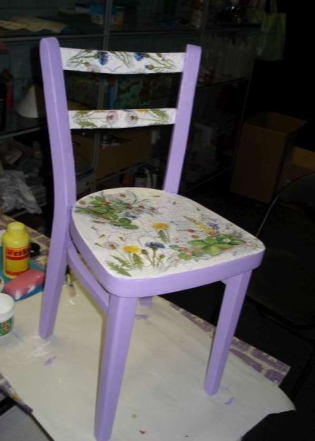
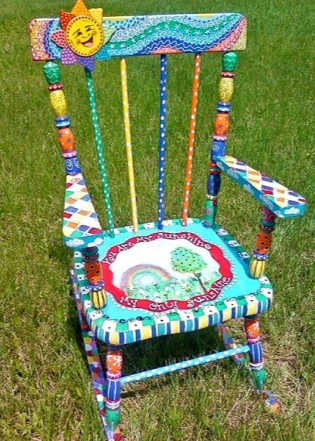
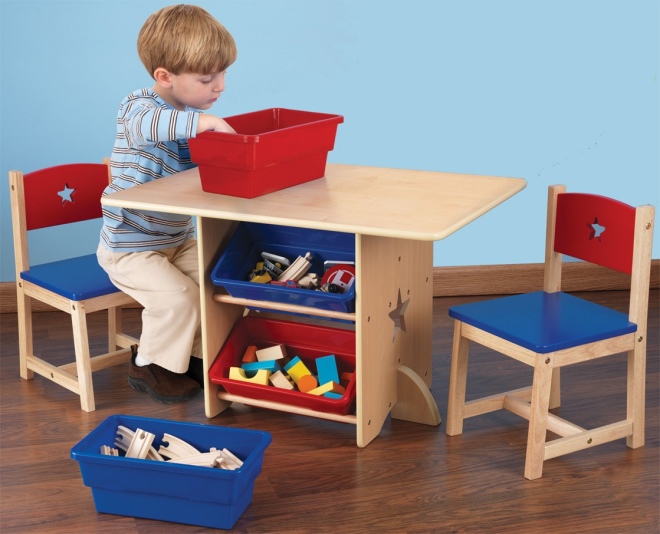
If drawing is not alien to you, please your child with interesting design solutions. You can go "adult" by painting the frame in one color, and the seat and back in another, or you can navigate to the children's desire for a bright and challenging. The simplest option is the “rings” on the legs of the chair, any patterns and even even blots are permissible, provided that it looks cute and positive. Regardless of how much paint you used, do not forget - it should not be toxic.
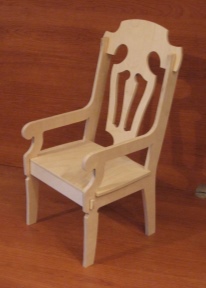
In the presence of a creative streak and a desire to complicate the task a bit for the common good of the business, a more complex decor can be performed. As an option - to decorate the legs or the back of the high chair with carvings, but this solution would be more like for adults. But for a child a decoration in the form of an animal will become a smart solution. The classic option is when the back is cut out to resemble an elephant, or any other cute baby animal, and then painted to be more like a “cartoon” character.
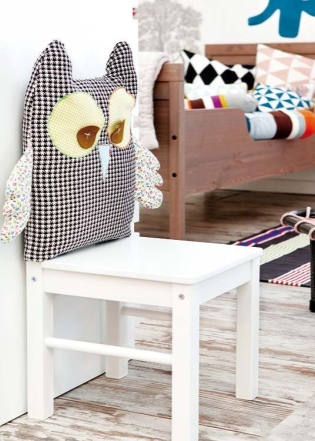
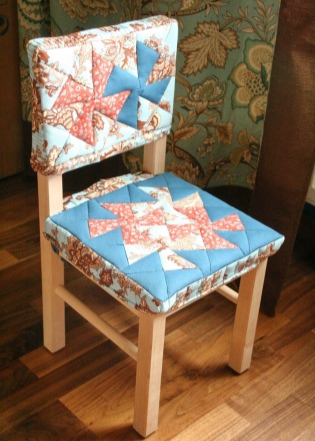
Covers can also be a kind of decor. In addition to their typical functions, such as simplifying the cleaning of furniture and increasing the comfort of its use, they can also decorate the back of the chair. Ideally, they should depict the child’s favorite hero, characters from popular fairy tales, or the same beasts. Mom can help with the dad's case, especially if she knows how to embroider or has appliqué skills from fabric. If the mother does not have such talents, you can simply alter the cover from the clothes on which the necessary pictures were applied using the factory method.
For the youngest children
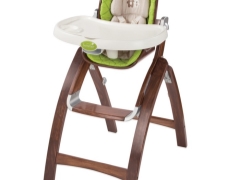
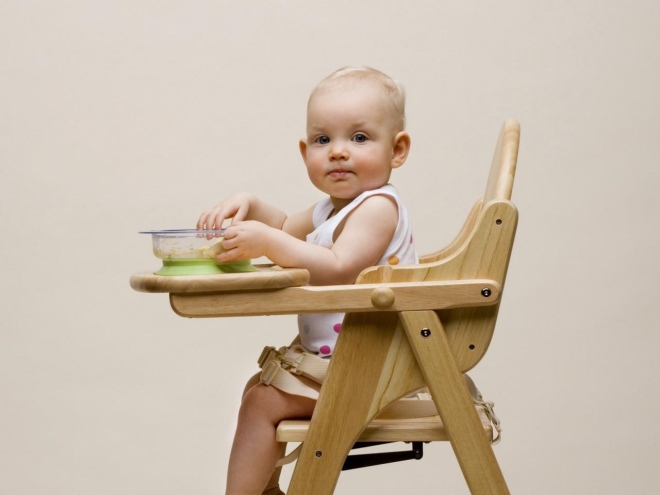
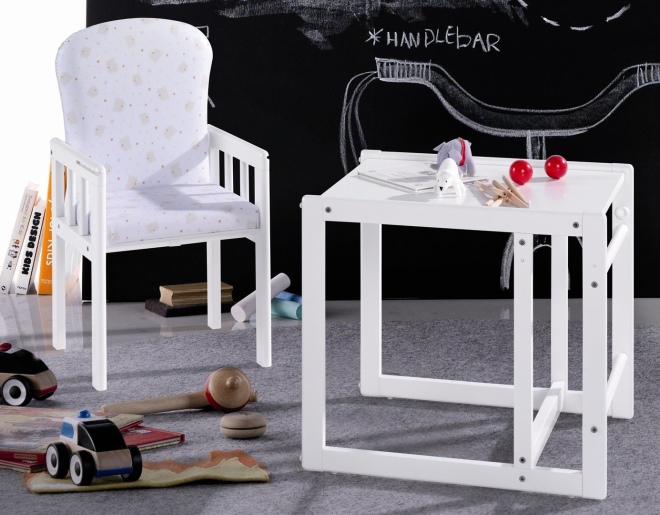
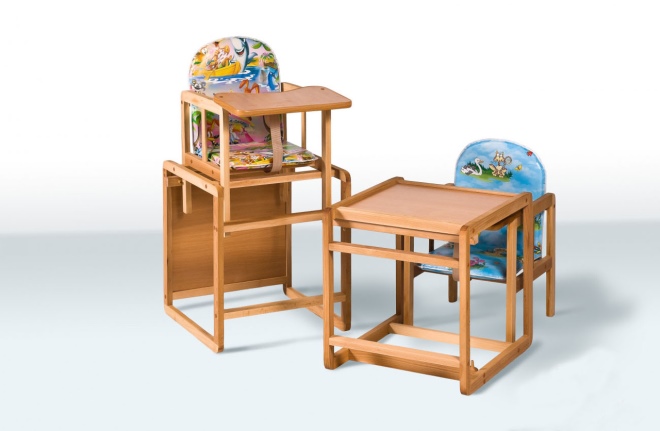
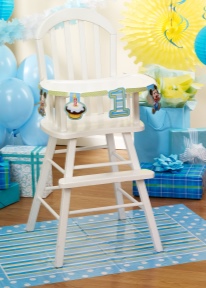
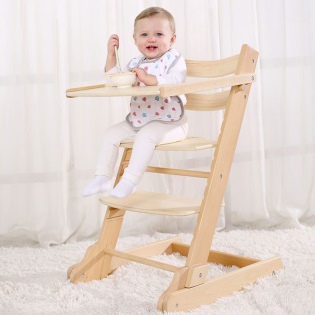
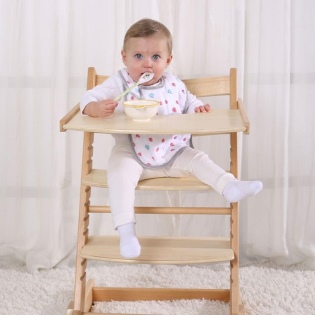
The youngest children are still sitting on the chair for only one lesson - the absorption of food. To teach a child to eat while sitting, and generally sitting, particularly at the table, is important and necessary. However, the features of its development at this stage do not allow the use of ordinary chairs for this. The problem lies in the fact that a simple chair does not have a back with handles, and the tiny child himself cannot sit on it evenly yet, and will simply fall.
As for the highchairs, their size usually does not allow to select a normal table for them. In this situation, a special feeding chair will be an excellent way out.
Such furniture should be comfortable for both the child and his mother - so far the child cannot eat on her own, because mom will have to feed him with a spoon. For the convenience of this operation, the chair is made at a height of normal, or even slightly higher - so that mom does not lean. The actual period of use of such a chair is about a year, so if you have one child, and the second family does not plan at all, you can choose not the most durable materials for manufacturing.
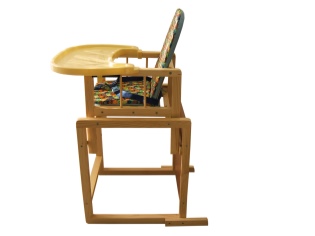
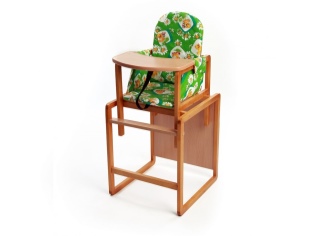
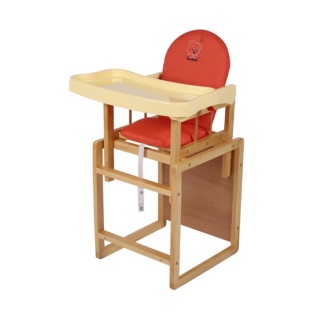
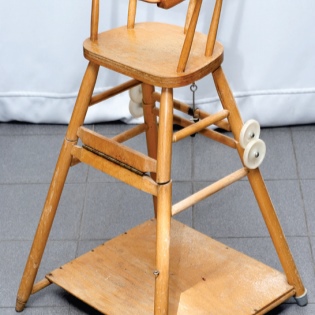
In terms of manufacturing highchair is perhaps the most difficult - it has the greatest amount of detail. A relatively small seat is raised high above the floor, forcing to resort to installing additional stiffeners between the legs - for improved structural stability.
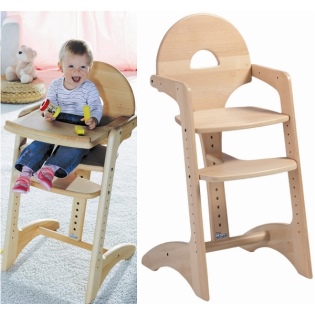
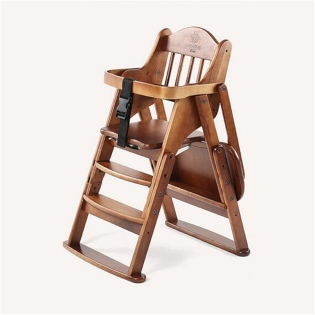
Given the specifics of the child of the appropriate age, both the back and the railing are simply necessary - they must completely exclude the possibility of the infant falling. Moreover, the barrier should also be in the front, although it has another useful function - it plays the role of a table top on which food will be placed. The space under the tabletop is left free - there the baby will slip his legs.
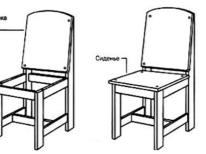
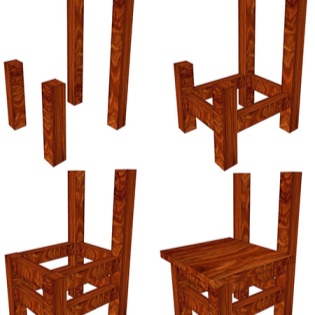
Cutting and assembling such a chair is quite simple. First, according to the drawing, two identical side halves are cut, which are then joined together by a seat, back and stiffening ribs using grooves, glue or self-tapping screws. Before assembly, all individual parts should be sanded to a perfectly smooth state, the finished product is varnished or painted - ready.
Models for an older child
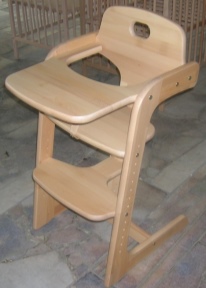
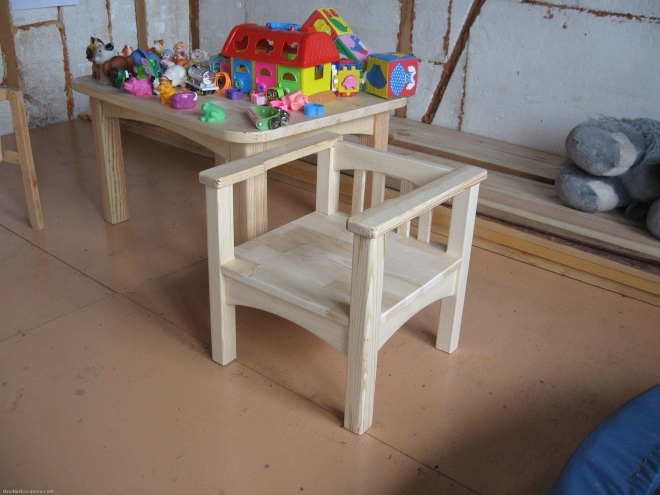
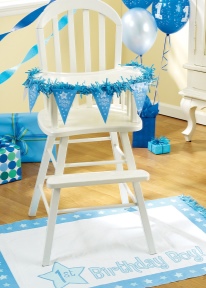
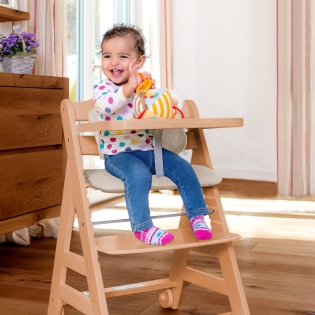
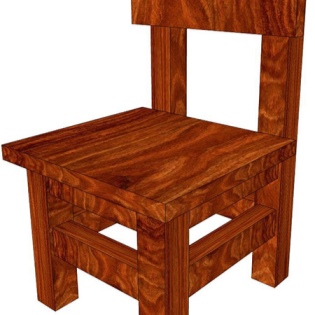
The feature of the high chairs for children who finally emerged from their infancy is a significant variety of design options, limited only by the creator’s imagination. The back is still considered a mandatory attribute, but the railing is no longer, just like the front barriers. Save on materials in this situation is not worth it - if the furniture is made with a margin in size, then the child will be able to use his chair for many years.
The manufacturing process consists of a few simple steps:
- Think over the design to the smallest detail and make a drawing. Decide on the number of body parts - whether it will consist simply of two solid halves or of separate legs and separate supports under the seat, whether the backrest base will be an extension of the rear legs or it will be mounted separately, and so on. Calculate everything, including the thickness of the seat and legs, in advance, provide stiffeners and additional supports under the seat. Provide grooves, mark the place for the screws.
- If doubts about the correctness of the selected parameters still remain, Try to assemble a temporary cardboard chair according to your drawing. Unfortunately, it does not have the same strength to test the product from all sides, and it differs in thickness from wood or plywood, which also needs to be considered when specifying the dimensions, but you will get a visual idea of the future product.
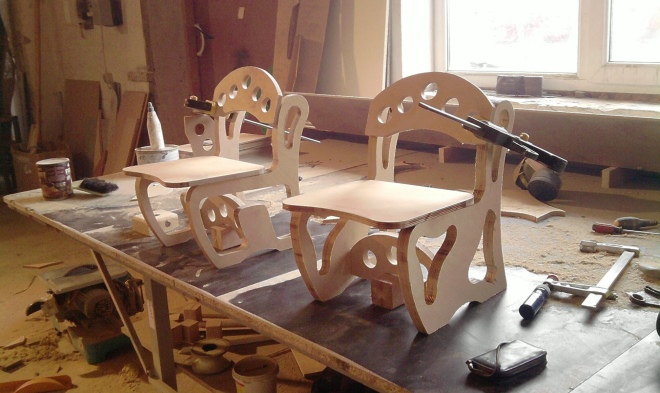
- Proceed to cutting out individual parts from wood or plywood. Start advised to the case. It’s good if there are a lot of identical parts in the set - then the following ones can be cut out by a simple bypass of the finished one. If the design allows, do not postpone the assembly until the moment when you cut everything out - start as soon as you have at least two parts that need to be connected. This will immediately notice any design flaws, if any. After the parts are ready, grind them to a smooth state.
- When all the elements are ready, proceed to the final assembly. Do not limit yourself to one type of fastener, in particular, glue the grooves - this will significantly strengthen the product and increase its durability. Ensure the deepest possible entry of the grooves - tap the connection points with a hammer to make the fastening more secure.
- The last step is varnishing and painting.
Video Tips
No matter how detailed and intelligible there is a theoretical explanation, it is hardly comparable in terms of information to a good example, because it’s better to see once than to hear a hundred times.
Hand the video is one of the best examples of how to make a highchair with your own hands. The master literally talks about everything, including the dimensions of the parts he used, so that you can even do without a drawing, simply repeating what he says. The resulting chair is quite simple in its design, but it is easy to make. There are many other similar videos on the net, but the models there are always about the same, and here the process is shown in great detail and clearly.
Watch a workshop on making a highchair with your own hands:
Manufacturing principle baby highchair, in general, it is similar, but it is worth studying it in more detail because of the increased complexity of the structure, and simply because it is already told by another master who can reveal some new points.
How to make a highchair, see the video:
