Polymer Clay Molds
Polymer clay molding in recent decades has become a real hit. Since products made from such raw materials have a very long lifespan, many adults, at an amateur and professional level, decided to use their own creativity as a way to please themselves and loved ones and even earn.
It is not surprising that rather quickly the new fashion touched the children too, since many of them like to sculpt on their own, and most also have to do this because of the characteristics of the school curriculum.
The authors of good creations today are much more than people who really possess talent, and molds for polymer clay help them in this.


What it is?
Any person who at least once tried to blind something worthwhile with his own hands will confirm: to create a masterpiece you need remarkable talent, and if the design also implies an abundance of complex small details, the process is likely to drag on for a long time. This greatly limits the number of people who are able to successfully engage in such a hobby - someone does not have time, and someone simply does not know how.
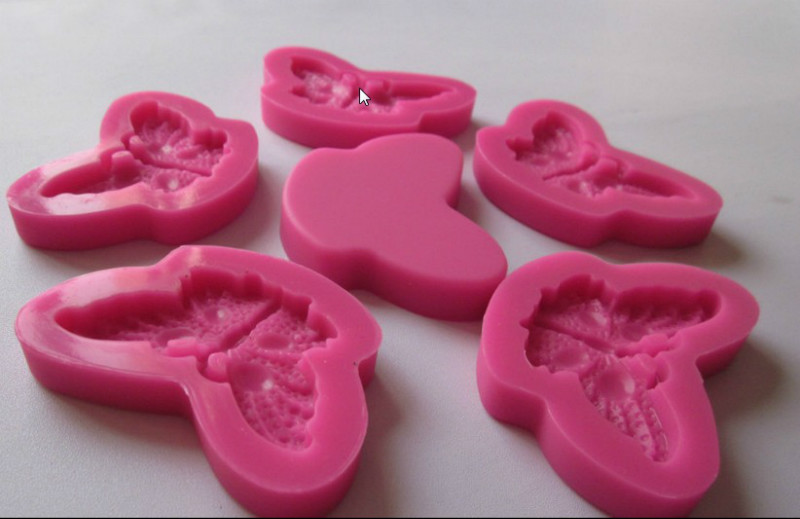
In today's consumer society, manufacturers of masses for modeling could not afford to lose a huge number of interested potential consumers, so they found a brilliant solution - to produce special silicone molds.
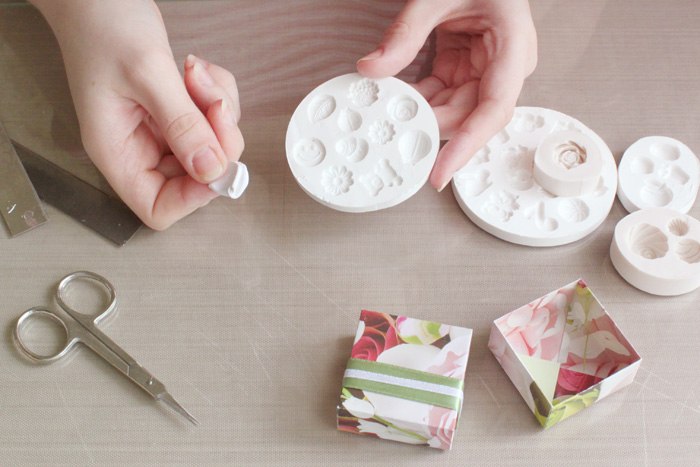
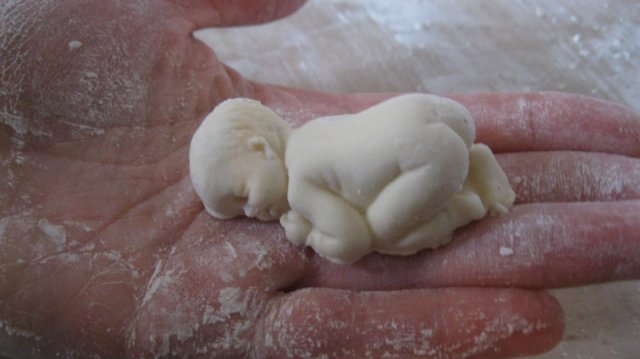
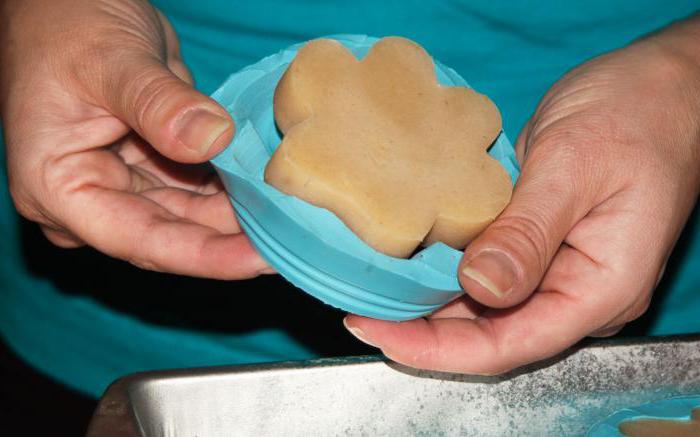
The principle of using such a mold is simple. The mold has a deepening of the desired shape, which is densely filled with polymer clay to the top, with the result that a figure is formed. Silicone is great for solving such problems, because it can be successfully baked with clay, but even after such tests it remains elastic and allows you to easily remove the product from the mold.
It is more convenient to work with molds if the master regularly uses some repetitive motives.
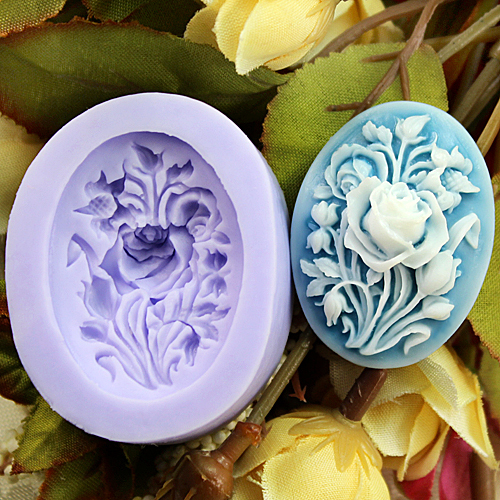
In general, among fascinated people, it is not the whole product that usually repeats, but only individual components — for example, flowers or berries, which are present in very many compositions, regardless of the purpose of the object.
With proper care, such a mold is able to last up to five years, however, do not use the form for other materials. (for example, for epoxy). In addition, to obtain the most aesthetic results, the mold should always be perfectly clean and dry.
How to use the molds?
Working with forms only to the uninformed will seem extremely simple, while professionals know quite a few secrets how to extend the life of a mold or to achieve maximum likelihood of transferring a form.
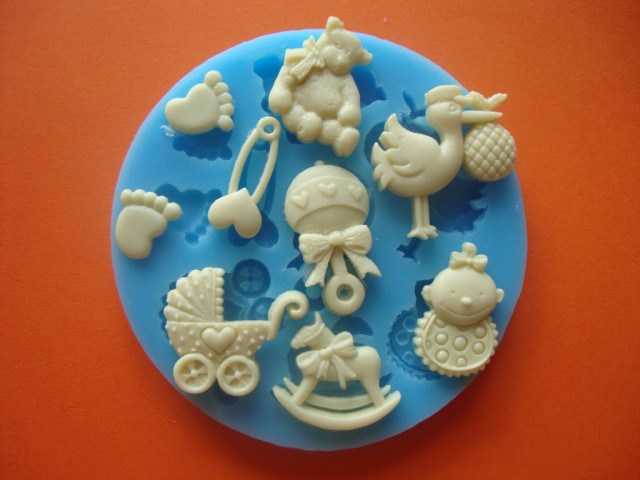
It is worth using deep silicone molds, in which the hole equals the maximum width of the product, or even exceeds it. Although the filling seems extremely simple, the masters do not recommend doing it with one piece of material - it is better to use small pieces and carefully tamp the mass, because the only way to achieve sufficient strength.
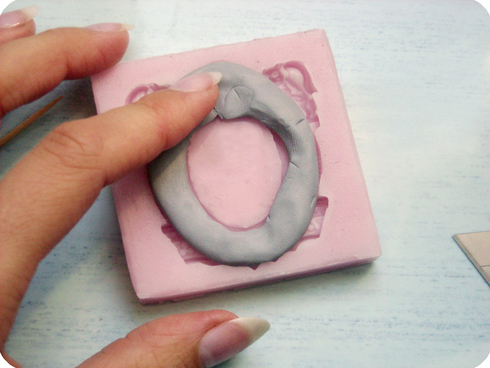
The clay form must be filled to the very edges or slightly less, but in no case more. Although molds are designed to be baked in the oven along with their contents, experts still do not advise doing so: if it is possible to remove fresh plastic from the mold without disturbing the appearance of the product, then it is better to do so. This will significantly extend the service life of the tool and save money on buying a new one.
If the product was nevertheless baked in the oven with mold, in no case should you try to remove the craft until it is completely cooled, but you can speed up the process a little with running cold water.
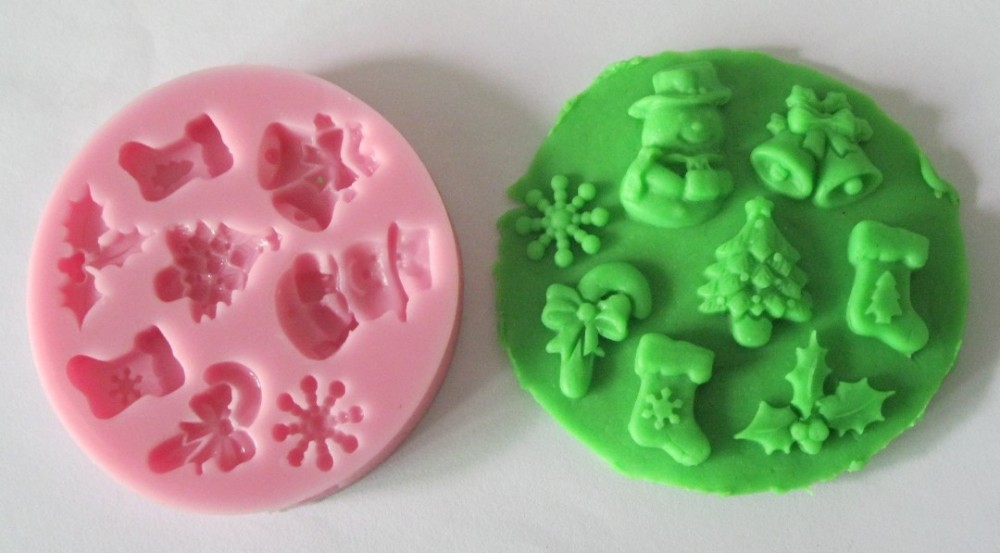
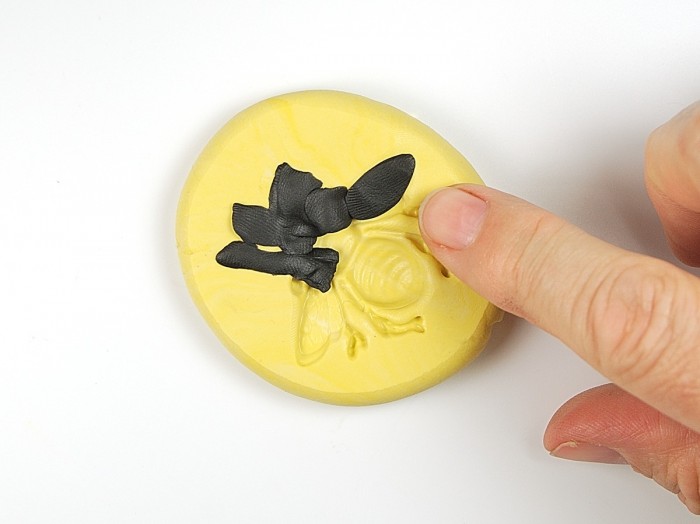
Remove the finished product from a shallow shape with a wide neck even more carefullyAfter all, there is always the risk of breaking the figure with careless actions. Such operations can be applied in particular in the manufacture of clay chocolate bars.
In such a situation, the extraction is carried out with a banal compression of the shape with the fingers, as if by folding in half - the “chocolate” itself falls out of the nest.

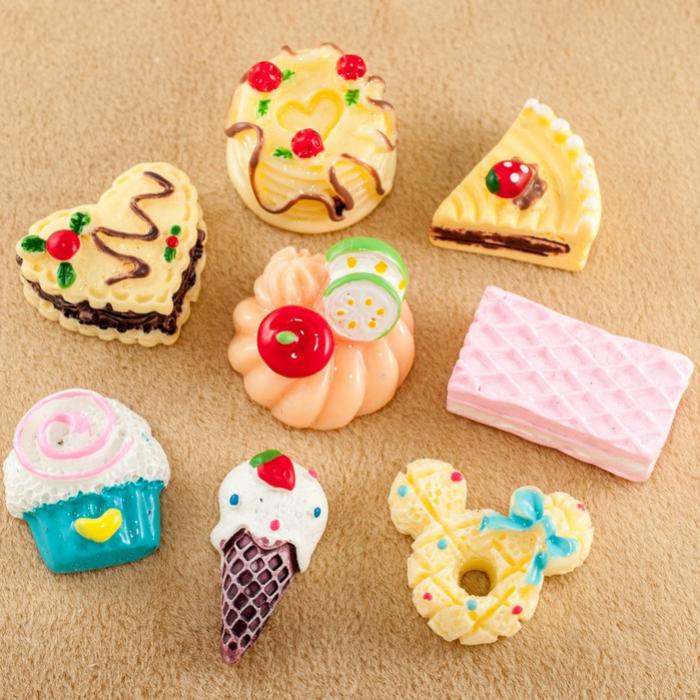
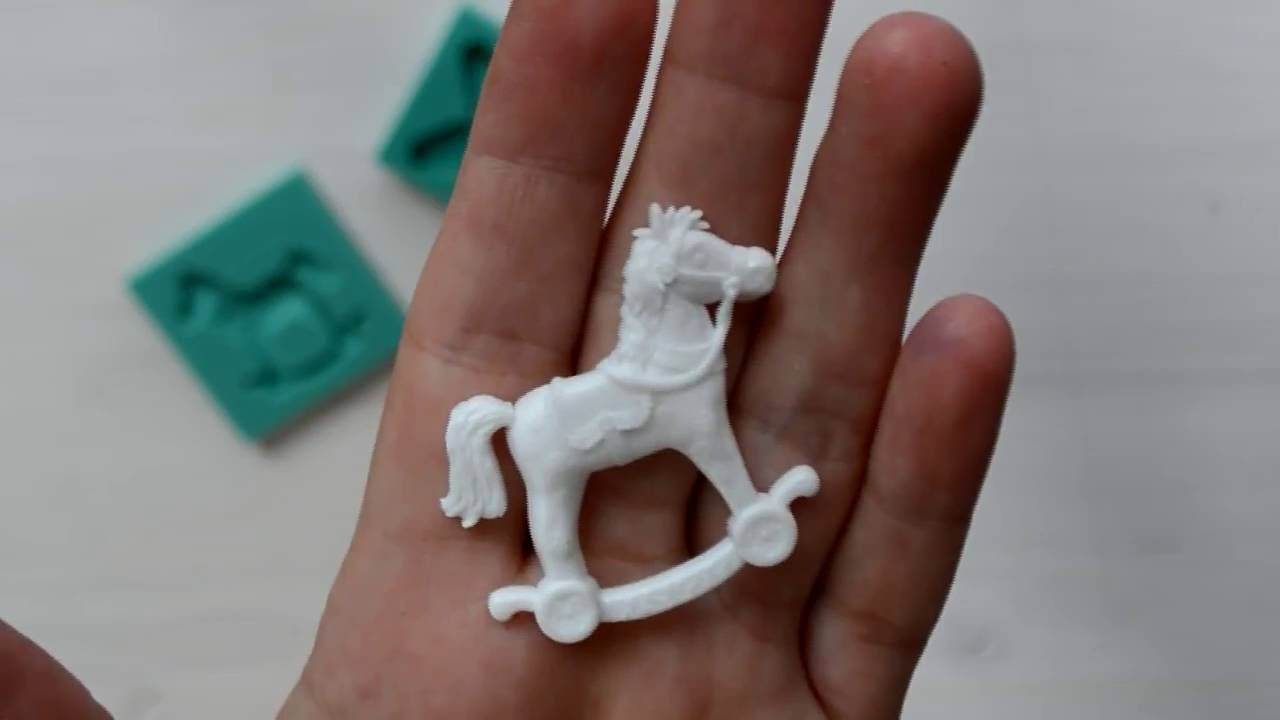
The most difficult task is when the slot of the form is much smaller than its internal space. In this way, for example, a plate can be made. There are special requirements for the quality of filling the mold, because the remote corners of the space will remain empty if the master does not directly start with this at the very early stage of production.
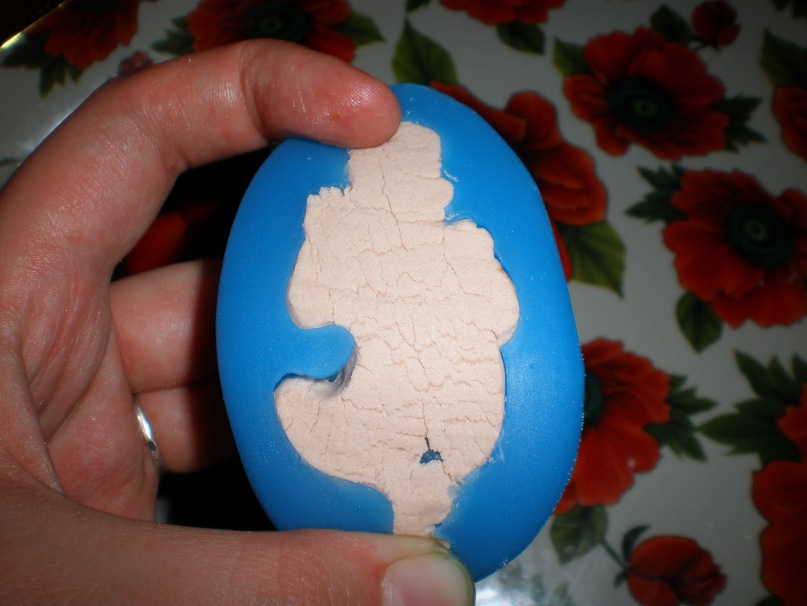
Even the high elasticity of silicone will not allow to remove the blank from the mold, if it did not have time to harden, therefore it is senseless to take such molds - in any case, they will go to the oven with their filler. After complete cooling, the author of the craft gently bends the edges of the form and removes the finished product.

How to make a form yourself?
Despite the fact that you can buy molds for polymer clay in almost any specialty store, many craftsmen prefer to make molds for themselves. This allows us not to be limited to rather standard and too hackneyed forms produced for beginners, and to go directly to self-expression, but this task is not easy, because you have to manually shape the desired contours. However, for the needs of making figures for sale, this approach is the only correct one.

It is easiest to explain the scheme for creating mold using the example of a conditional berry. For this, you will definitely need a real sample of the object whose copying is planned.
Experts recommend to take a picture of the berry to accurately memorize its colors. You can circle it around the contour on paper to clarify the shape and size, but if you follow the instructions correctly, this step will be superfluous.
A container of any shape is taken (as an option - previously manually molded from clay) provided that it ideally accommodates the object in such a way that it never touches the walls or the bottom - a gap of at least 5-7 mm should remain.
As a material, you can use ordinary acid sealant because of its low cost, better transparent - so it will be possible in the manufacturing process to notice air bubbles and remove them in time.

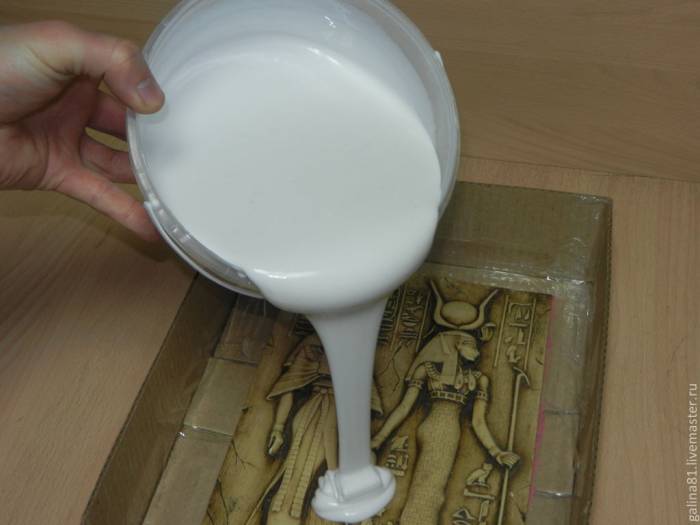
After pouring the sealant into the form (make sure that there are no bubbles), the berry is wetted with a small amount of soap solution and immersed in the mass, pressing the sealant with rubber fingers to avoid the formation of voids.
When the sealant dries (this period is indicated on the package), you can remove the berry - mold is ready. In order to avoid sticking together, finished forms are stored in separate bags made of polyethylene.
See below for how to make silicone molds by yourself.