Making an easel with your own hands

An easel do-it-yourself is first and foremost a savings and second convenience. A self-made thing can be tailored exactly to itself, making it multifunctional and meeting the requirements of each family member who uses it for work. Also, the design and design can be tailored to the style of the room in which it will be. Then it will be not only a working tool, but also a design element.
Materials and tools
Easels have several types, differing in their design and functions. The set of necessary materials and tools depends on it. For the simplest easel, the following components are enough.
Instruments:
- drawing or simple hand sketch, on which you will make the design;
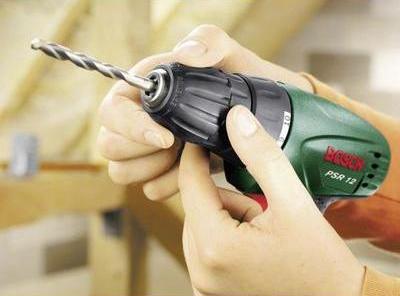
- hammer / screwdriver;
- nails / screws;
- hacksaw.
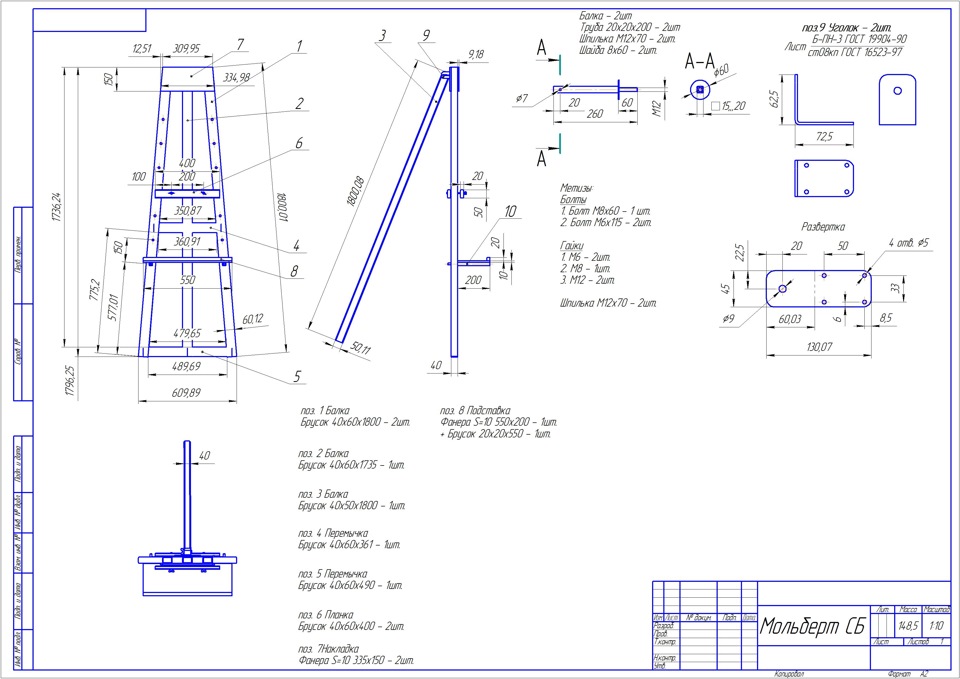
Materials:
- dry wood - plywood, solid wood, pine;
- reiki.
All sizes depend on your desire. Consider the height of the user and the size of the canvas.

Desktop
Doing your own hands a desktop easel for the house is not difficult and does not take much time. Its design is small.
For manufacturing, you will need 4 slats - 2 of the same length, one shorter by 1 centimeter and a slat for the crossbar + slats for the frame or a single sheet of plywood, corresponding to the size.
We cut two identical slats at an angle of 15-20 degrees and connect them with a short stick with a bolt with a nut or lamb. This is necessary to get the shape of the stand. On two frames cut at an angle, we put the crossbar on the glue or nails, and the one that is shorter is set aside. It turns out the desktop mini tripod.
Easel ready. At will to it it is possible to make a stretcher or plywood basis.
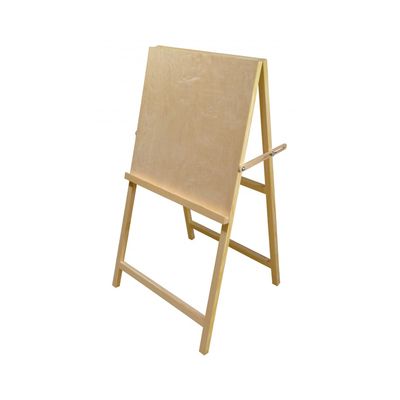
Floor
It has many types and variations of manufacturing. Each of them is available for manufacture on its own. Among the advantages - collapsible, portable, two-way and others.
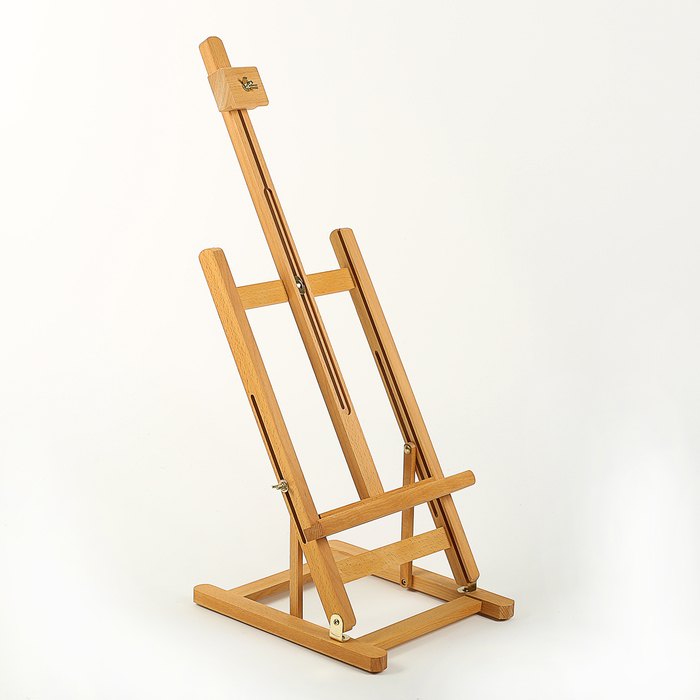
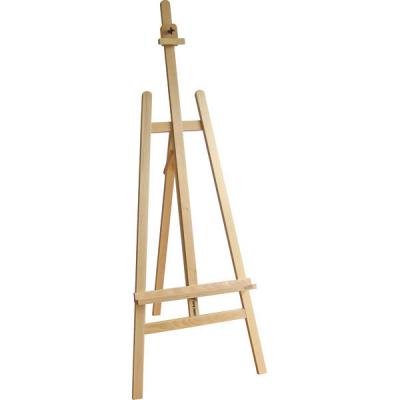
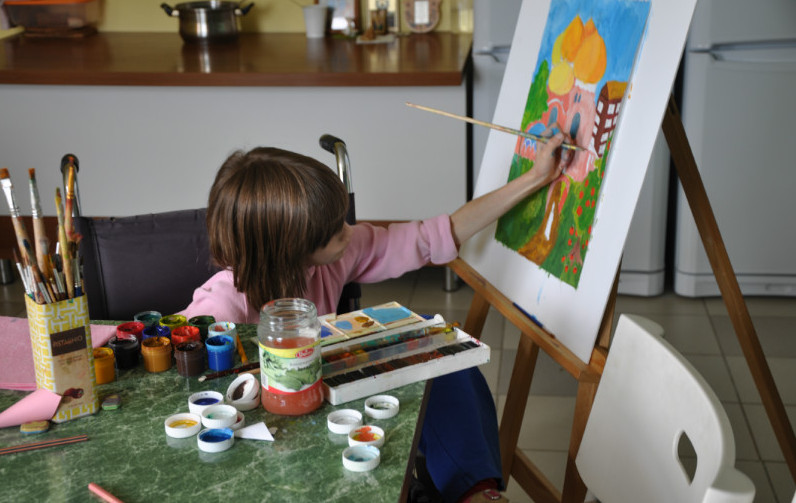
Tripod
Another name is lira. Suitable for creating paintings and drawing on a dense basis. A convenient folding option will help save space. You can make a special sheet of wood for lining under the drawings.
Here, much more rails and connecting elements are useful - 4 two-meter rails (2x4.5 cm), several rails for slats (2x3 cm). To work folding element, purchase bolts and anchors.
Combine design can be the same as for the desktop easel. But for greater stability, a construction with reinforcement slats in three places - top, middle and bottom. Add a shelf for the base and pens to the bottom plate. Attach the rear leg on the door hinge to the middle crossbar. If you have to work with large formats, then add from the middle the middle bar above the main canvas for the required distance.

Flapper
To make a simple folding easel-clapper, to the main list of necessary materials you need to add door hinges. At the exit, we get a convenient portable easel. In order to carry it was convenient, it is important to consider the size.
You will need wood blanks with dimensions of 1200x50x20 mm - 4 pieces, 560x50x20 mm - 4 pieces and 600x100x12 mm - 2 pieces. Next, collect our easel on a flat surface. When installing the hinges, be sure to check the angle of our crackers, otherwise the legs will be crooked, and the easel will sway. Screws fasten so that the caps cut into the tree.To facilitate the process and avoid chipping the wood, pre-drill the holes for the screws with a thin drill.
Surfaces can be treated with sandpaper or covered with self-adhesive film.
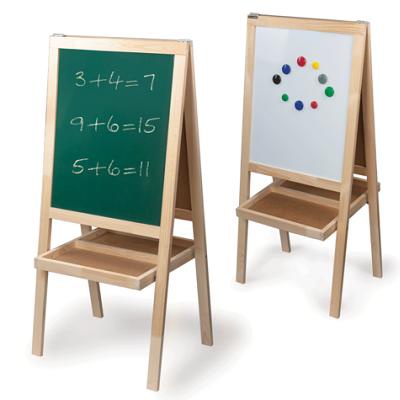
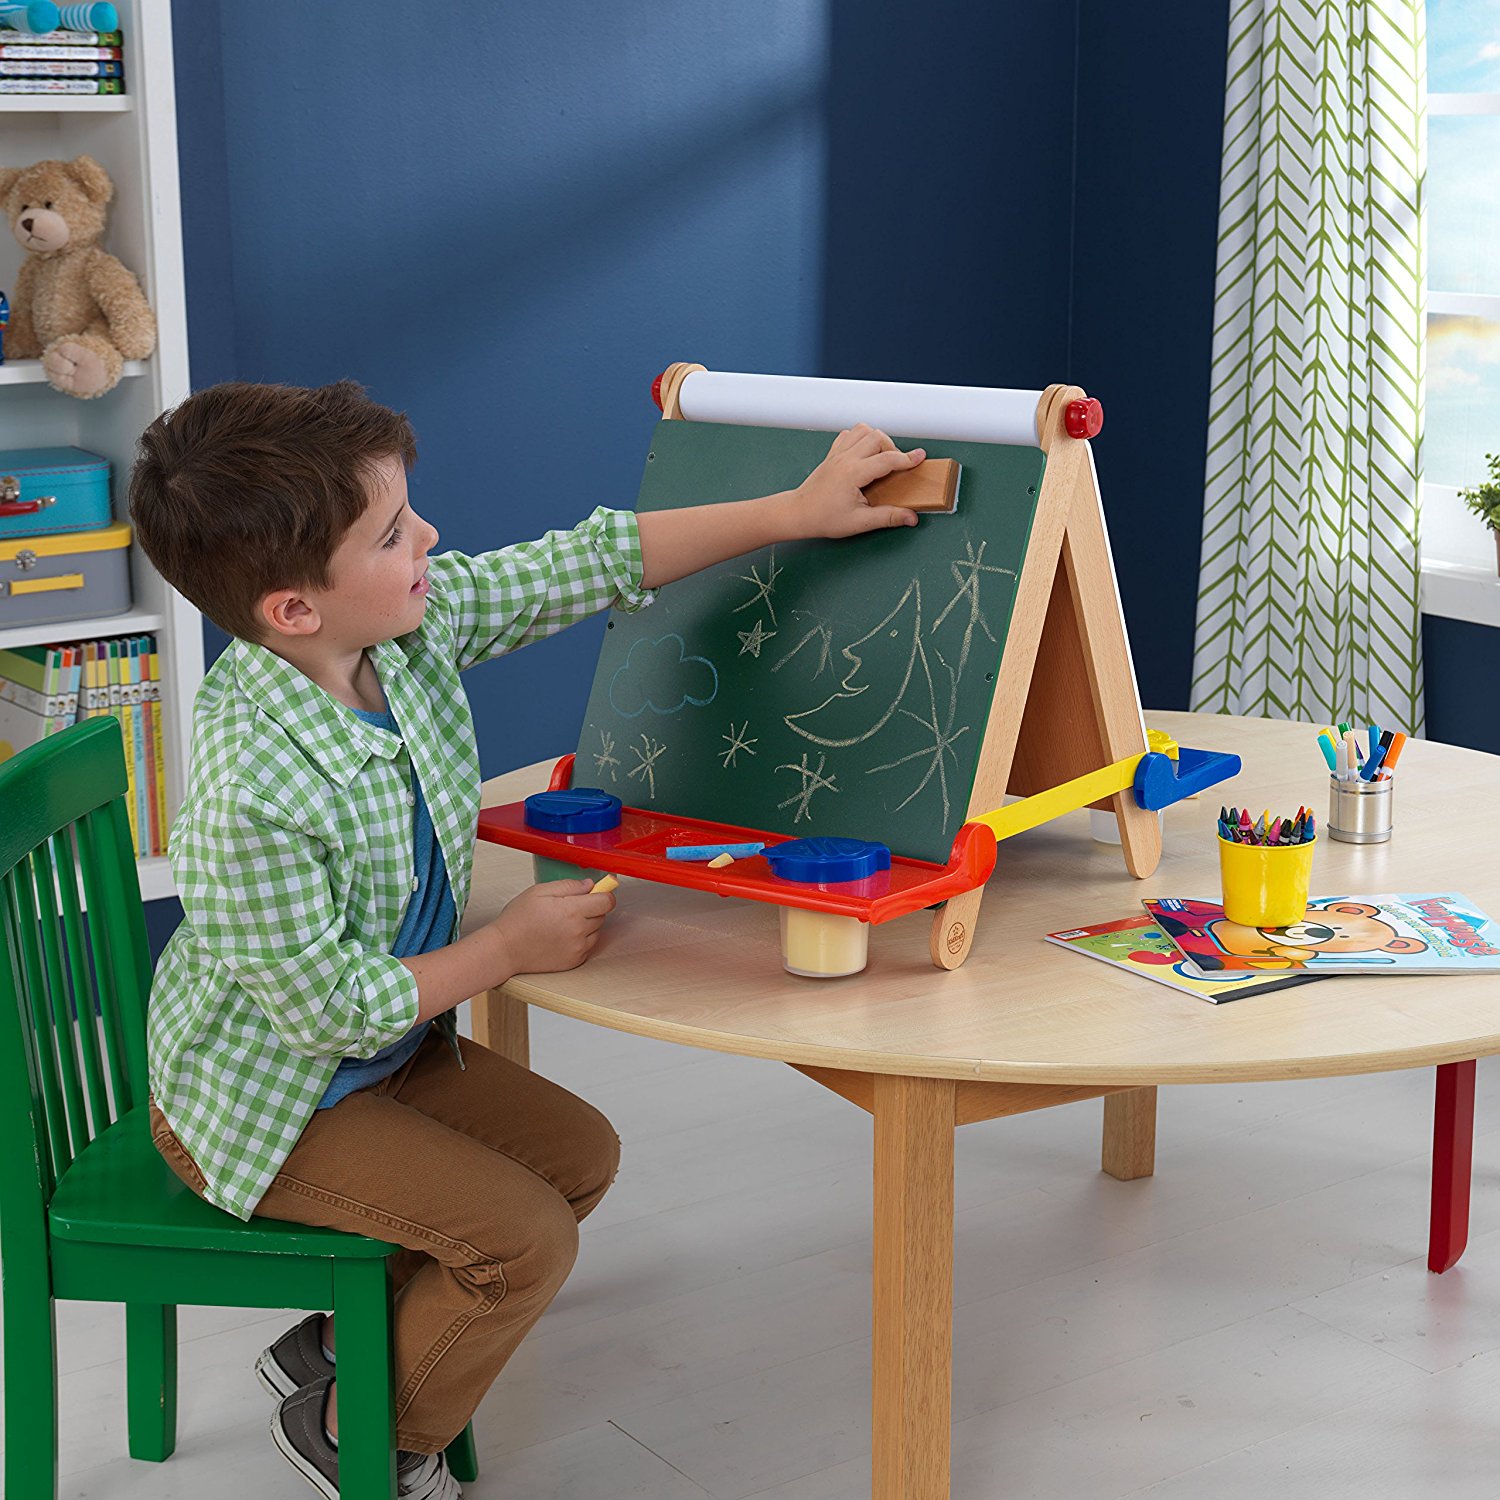
Bilateral
A great option for a child. You can make the principle of crackers, but there is a risk that the child will be uncomfortable, and the legs will converge. Homemade easel provides fixation of the legs and surfaces. At home, it is easy to do with wooden jumpers on the legs around the perimeter of the easel.
Children's easel can vary the decorations. It is also good to leave one side wooden - for drawing and playing, and the other side to be made metal so that the child can play with magnets - letters, colored dots and so on.

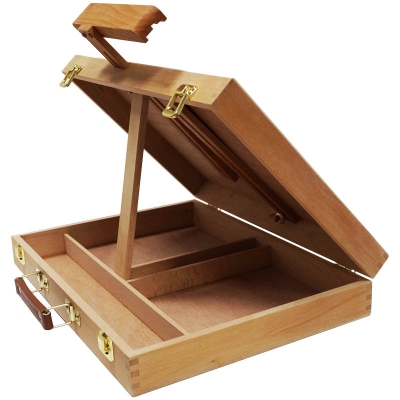
Sketchbook
Assemble yourself for drawing wooden portable case is also not difficult. The approximate size for convenience and comfort is 30x40 cm. The base and the lid are best made of wood, but the side walls are made of plywood. You will also need wooden sticks or slats to connect the elements, although this can be done without them. To fix the cover, you will need a metal bearing on the bolts. If you plan to store paper or cardboard in the lid, then you need to make a lid on the base with paints and brushes.
So that the base is multifunctional, it is possible to make borders for the colors of the slats. The portable case will require a hook - it can be made from wire and stud or buy ready-made. The handle can be short arm or flip to the shoulder. All this can be borrowed from old portfolios, bags or suitcases. Such a thing will be a great gift for an artist.

Good examples
Masters of all trades make the most varied types of easels - with shelves, double-sided, student's, with steps.
An easel do-it-yourself is an excellent replacement for an expensive purchase. As you can see, you can create any option, you need only desire and imagination.
Saving, you get a useful item in your home for the development and training of the baby and your own creative or working classes.
How to make an easel with your own hands, see the next video.