Kids rocking with their own hands
There are a lot of rocking chairs on the shelves today. They have a wide variety of shapes and types. But it often happens that the price range does not allow you to purchase your favorite model. One of the best options in this case is a rocking chair, created by yourself. The child will be delighted, especially if they observe and participate in the process of its manufacture and experience the finished result.

Special features
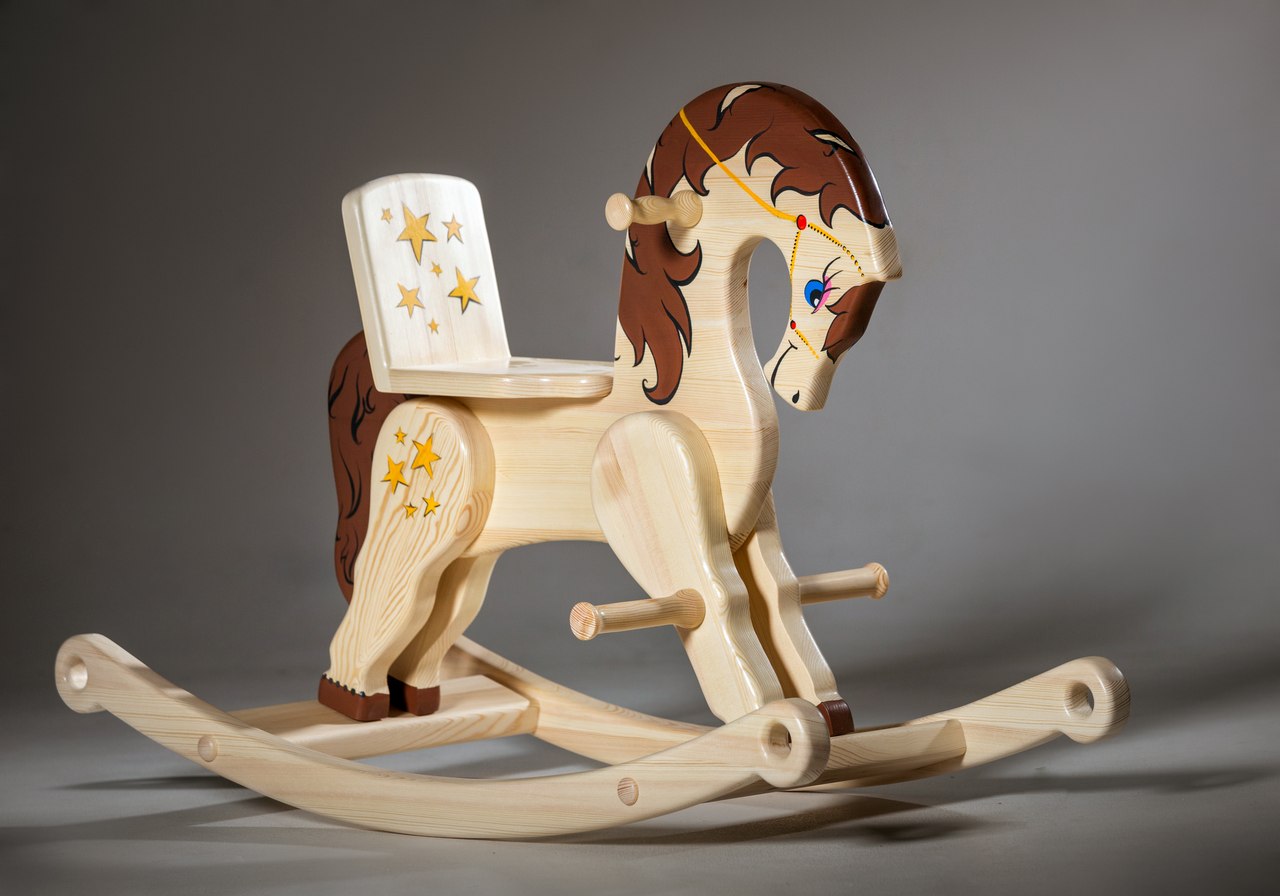
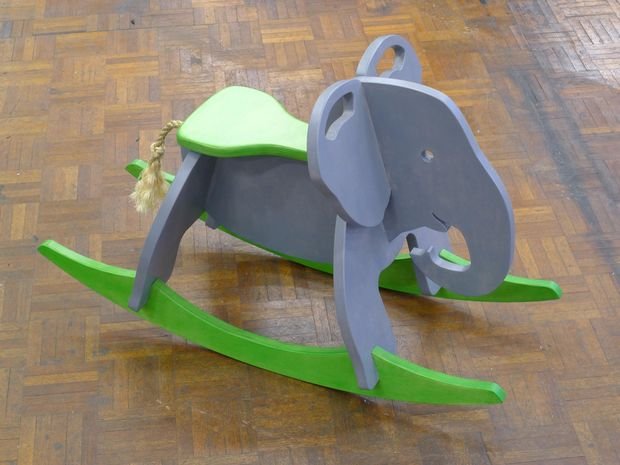
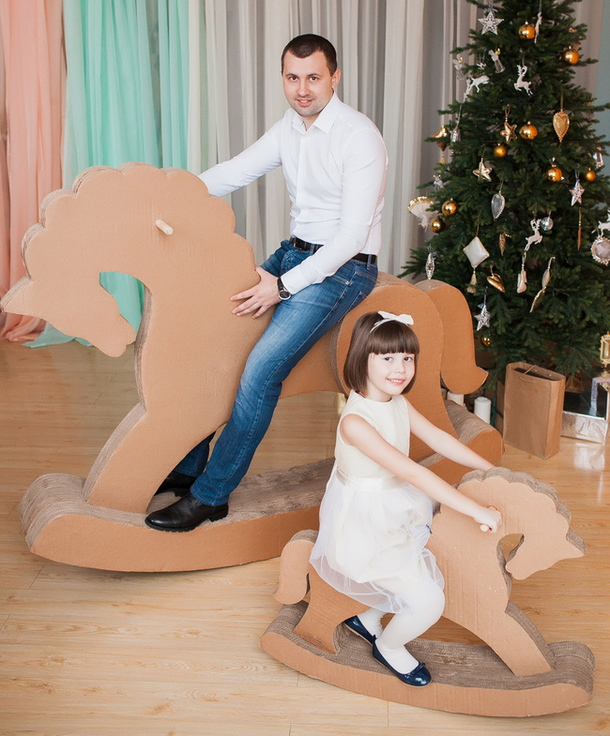
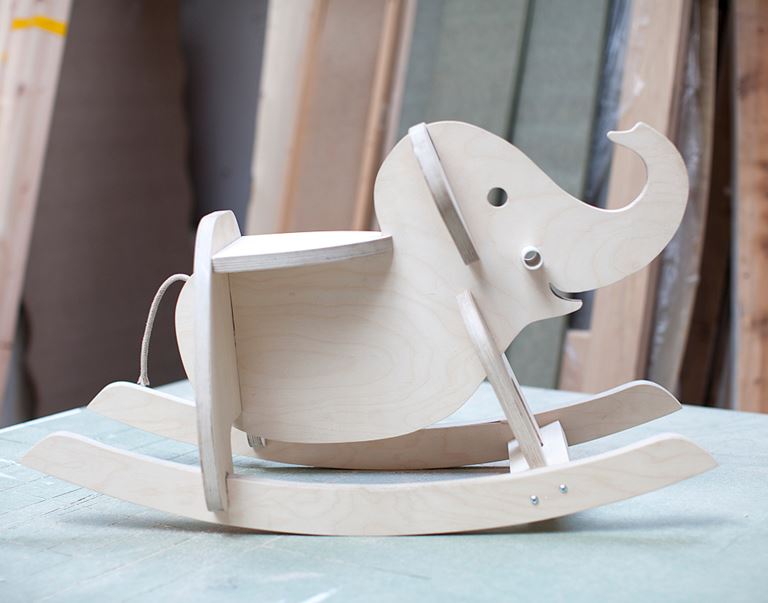
The rocking chair is a figure swinging at the expense of a specially rounded base. The figure can be any: a horse, an elephant, a cradle, just a high chair and any animal that may come to mind. Previously, such swing consisted of a wooden base, which was not very comfortable, because the hardness did not allow to relax. Today the frame is sheathed with a soft cloth, stuffed with foam rubber or a sponge. It turns out the whole rocking chair - comfortable and comfortable, fully replacing the child seat.

The benefits of rocking is great. This is not just a toy for the child, on which he can have fun, but also A good way to develop coordination and balance. And due to the pendulum effect, it relaxes and calms the child. No wonder it is recommended by doctors for the prevention of diseases of the musculoskeletal system. Also such a simple toy will save your stools and chairs from rocking and broken legs, scratched floors.
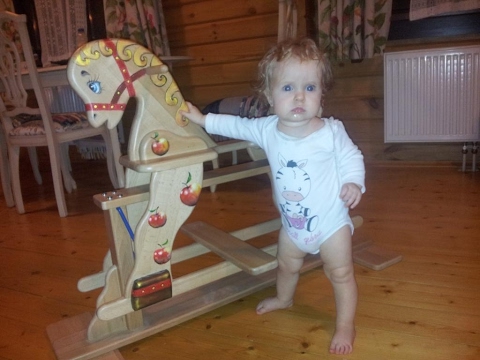
It is recommended for children from a year to 7 years.
Benefits
A handmade toy has several advantages:
- Availability. High prices for store rocking sometimes lead to a stupor, this is a budget way out of a problem situation.
- Communication. Oddly enough, but such a toy teaches a child a love for animals. Kids care for them, feed them, wash them and even put them to bed.
- Security. With self-made you will be confident in the quality of the toy. This also applies to the materials from which it is made and to the design of the product itself.
- Things made by hand, have a special, warm energy. If you also attract a child to this, for example, ask him to submit tools or hold items, then the work will bring even more benefits in family rallying.
Materials and tools
To work will require:
- plywood (not less than 18 millimeters), boards / furniture board;
- wood glue;
- drawings or templates, patterns;
- paint and brush for decoration;
- thread or rope for decoration;
- jigsaw;
- frezer (optional);
- drill;
- chisel;
- emery paper of different grains;
- pencil;
- ruler.

Here is a minimum of the necessary materials and tools for making a simple model of a rocking horse.
How to make?
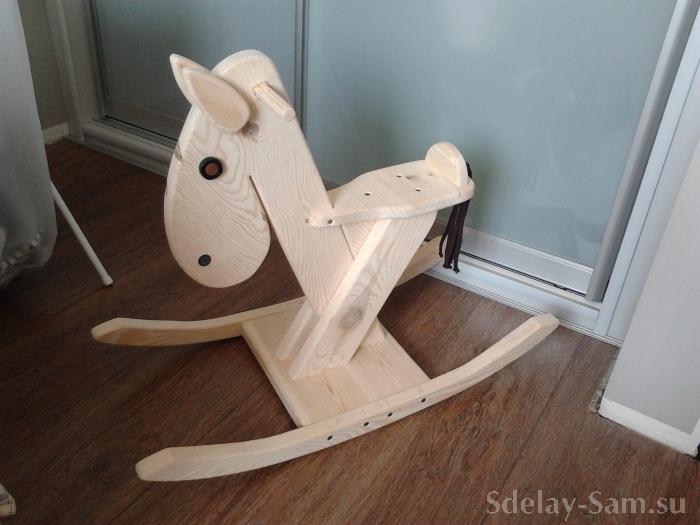
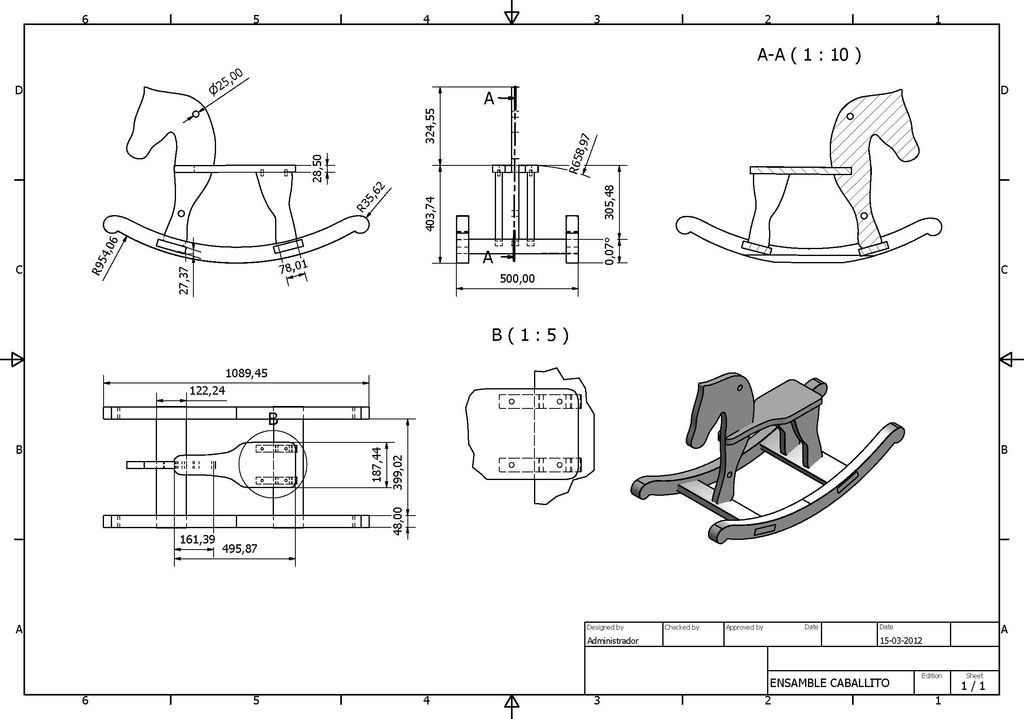
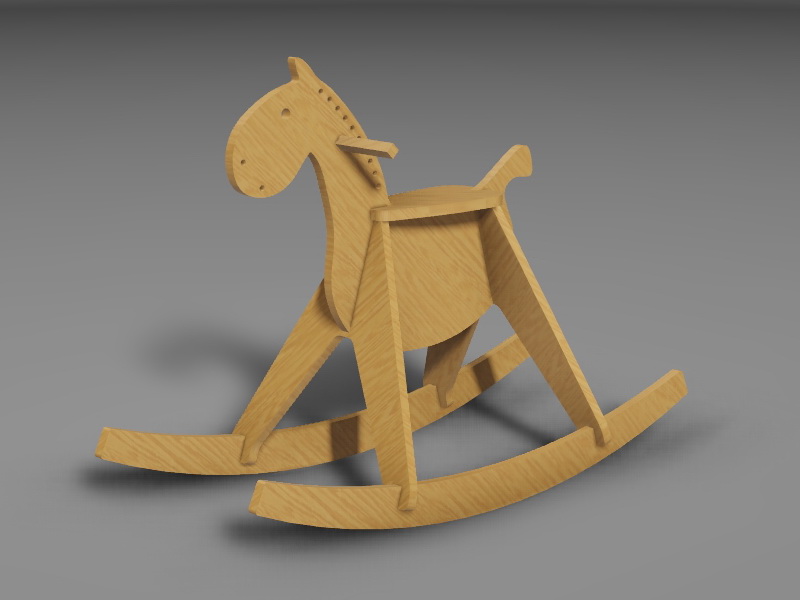
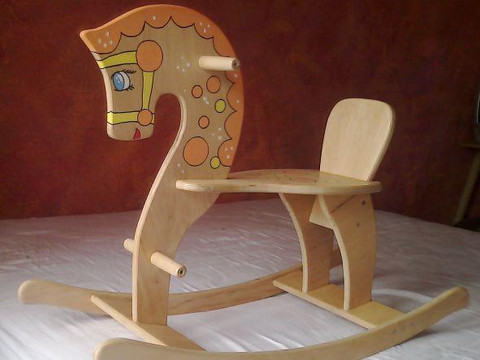
Making a horse plywood is not difficult if you have ready-made templates for cutting. They can be found on the Internet or draw yourself.
Here is one example of patterns. They can be scaled and printed, or manually drawn on a regular newspaper.
Stages of work:
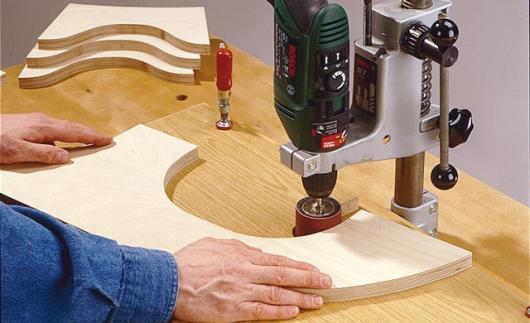
- Curve impose on plywood and circled. To prevent the piece from moving, fasten it to the plywood with masking tape. Cut a jigsaw of the workpiece along the drawn lines. Plywood or boards for the head, supports and seats should be at least three centimeters thick for greater strength. We make them necessary for fastening the hole with a drill and a jigsaw, we beat it with a chisel.
- Further, according to the diameter of the holes, we make sticks from the board for connecting the parts.
- All items need to be treated with sandpaper. First, take a coarse-grained, to remove all the irregularities, then finely grind roughness to a smooth state.It would be nice to use the router to round all the corners of the horse.
If the plywood at the site of the cuts has become empty, then fill it with glue or special coating.
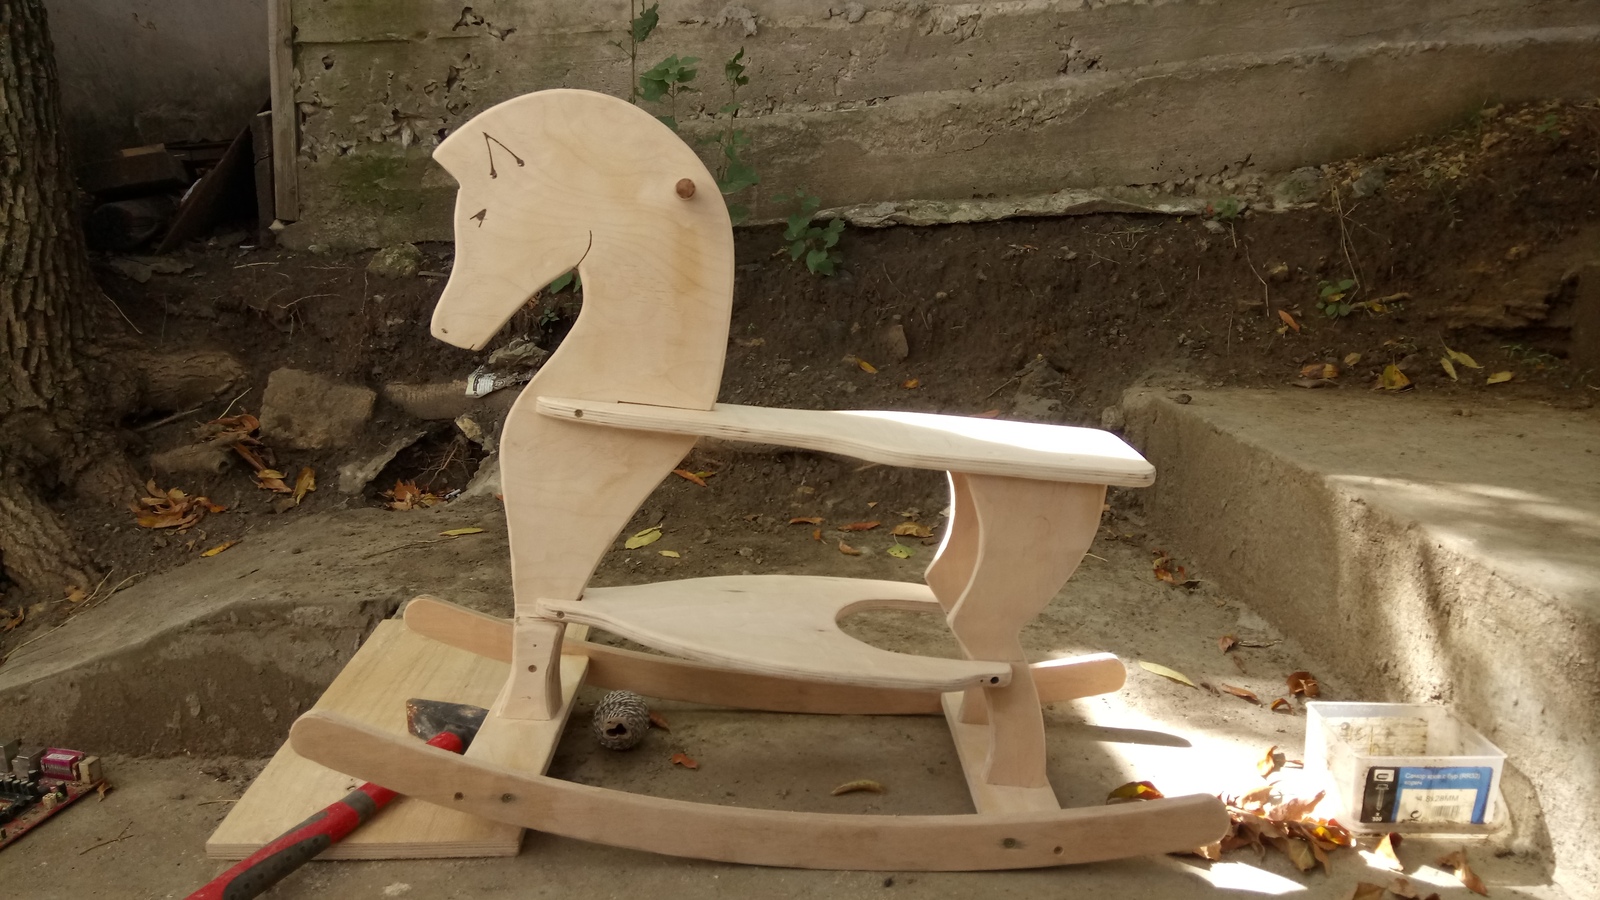


- We assemble the parts in accordance with the drawing, coating all the joints with wood glue. It is better to fasten the lower supports with self-tapping screws, at the same time it is necessary to screw them as deeply as possible so that the child does not get hurt. You can top them with glue.
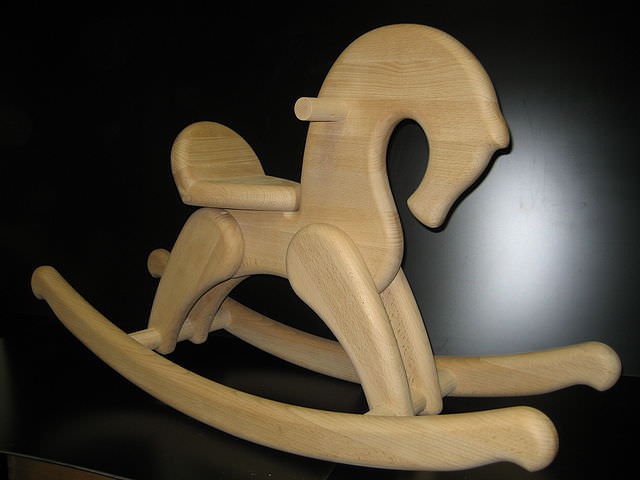
- Further, if desired, you can coat the horse with varnish, draw patterns, make a tail. Having waited for full drying, it is possible to begin operation of a product. Also, for more comfort, you can pin the horse and make a soft saddle with foam rubber or thick fabric.
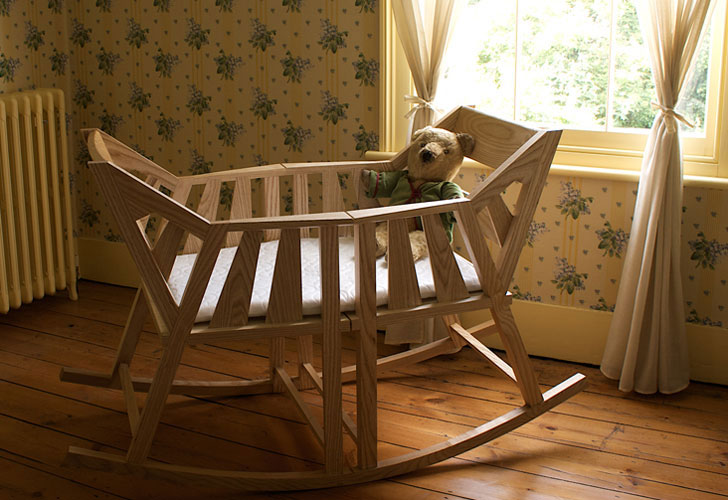
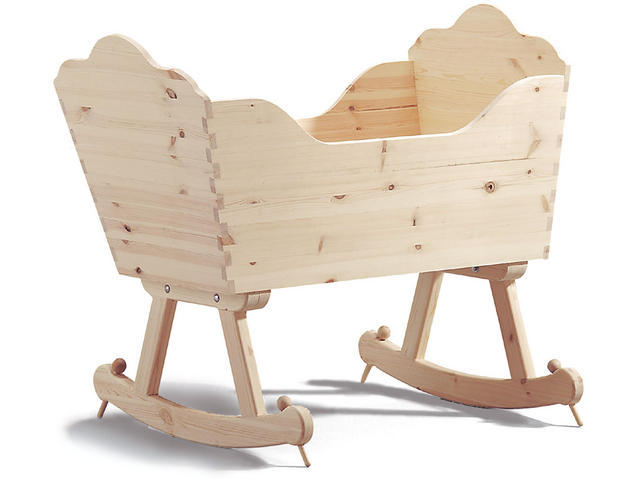
The rocking chair in the form of a seat or crib is created in a similar way. The only thing that complicates the task is a large number of details:
- For better fastening and minimal loosening of parts, it is better to use screws. Under the seat you need to hold clamps from one sidewall to the other, which will protect against falling through and give the frame a fortress.
- When making a rocking chair for small children, supplement it with a back and sides. Must be supports for arms and legs. Moreover, the support for the hands should be round, so that the baby was comfortable to hold.
- In total, making crafts with your own hands will cost 1000 rubles, which is a good savings compared to store prices.
The finished rocking chair can be sheathed with a cloth, make soft armrests, back and seat mat.
The children's rocking chair, made with your own hands, will undoubtedly become your kid's favorite toy. After all, a thing made with love and care is valued much higher than shop items. Safety and beauty products will be at the highest level, because for your child no loving parent is too lazy.

How to make a rocking chair for the child with his own hands, see the following video.