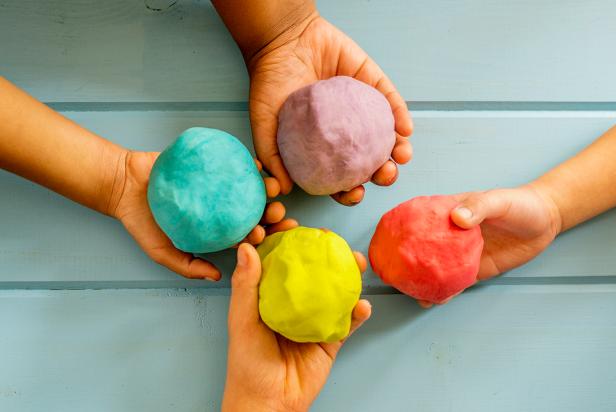
Salty dough for modeling
For those parents who are afraid to give plasticine to too small a child, but want the kid to learn to make a child from childhood, salt dough is created. Previously, only mother could prepare such for her child, but today his factory version has taken a full-fledged place next to other goods in children's toy stores. Although this mass was not invented yesterday, for many it still remains a mystery.
Special features
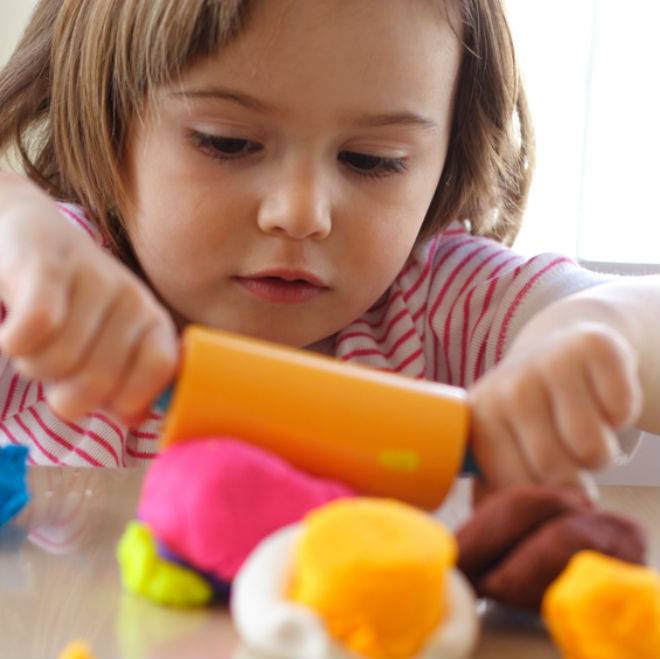
The positive role of modeling in the process of child development has long been beyond any doubt - it has a good effect on both the physical and mental components. At the same time, it is quite obvious that the earlier you start, the more impressive the results can be achieved. At the same time, plasticine is the main material for children's creativity today, it is not recommended for use by children under 3 years old, and further, its use is desirable in the presence of adults.
In this context, a great alternative for young children can be a dough. Made in the home, it is not very different in composition from that used for home baking, except for preparing a little differently, and almost always with the addition of a huge amount of salt, because This is the only way to ensure that the child does not pull the mass for sculpting in his mouth.

However, even if it pulls, it's okay, because the product is made solely from edible ingredients that do not require much chewing and are easily swallowed.
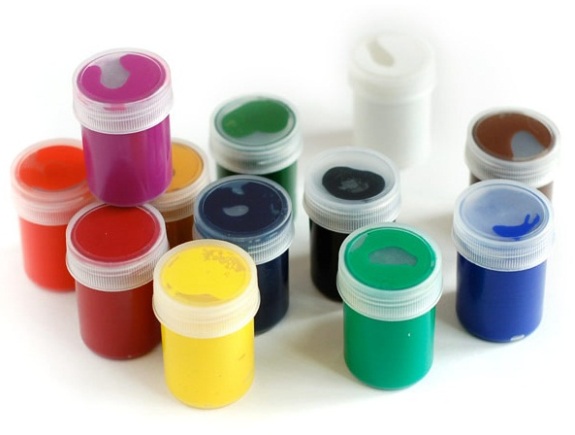
Industrial production somewhat expands the range of ingredients - the composition may include additional plasticizers, dyes, and even sparkles. Typically, manufacturers are all oriented to the same theoretical suitability for food, although glitter is unlikely to be useful for a child's body. At the same time, not all companies watch this moment thoroughly, selling more soft types of clay under the guise of dough for modeling.
If we are talking about the consistency, it should be noted that the dough for modeling has another important indicator for kids - it is very soft. Such a mass does not need to knead beforehand, it is immediately ready to create masterpieces. At the same time, this feature does not allow the material to keep too complex shape with small details. The mixture is very afraid of open air - it dries on it, losing its elasticity and becoming fragile. With a great desire, finished products made of it can be saved with the help of special drying or roasting.
What is it for?
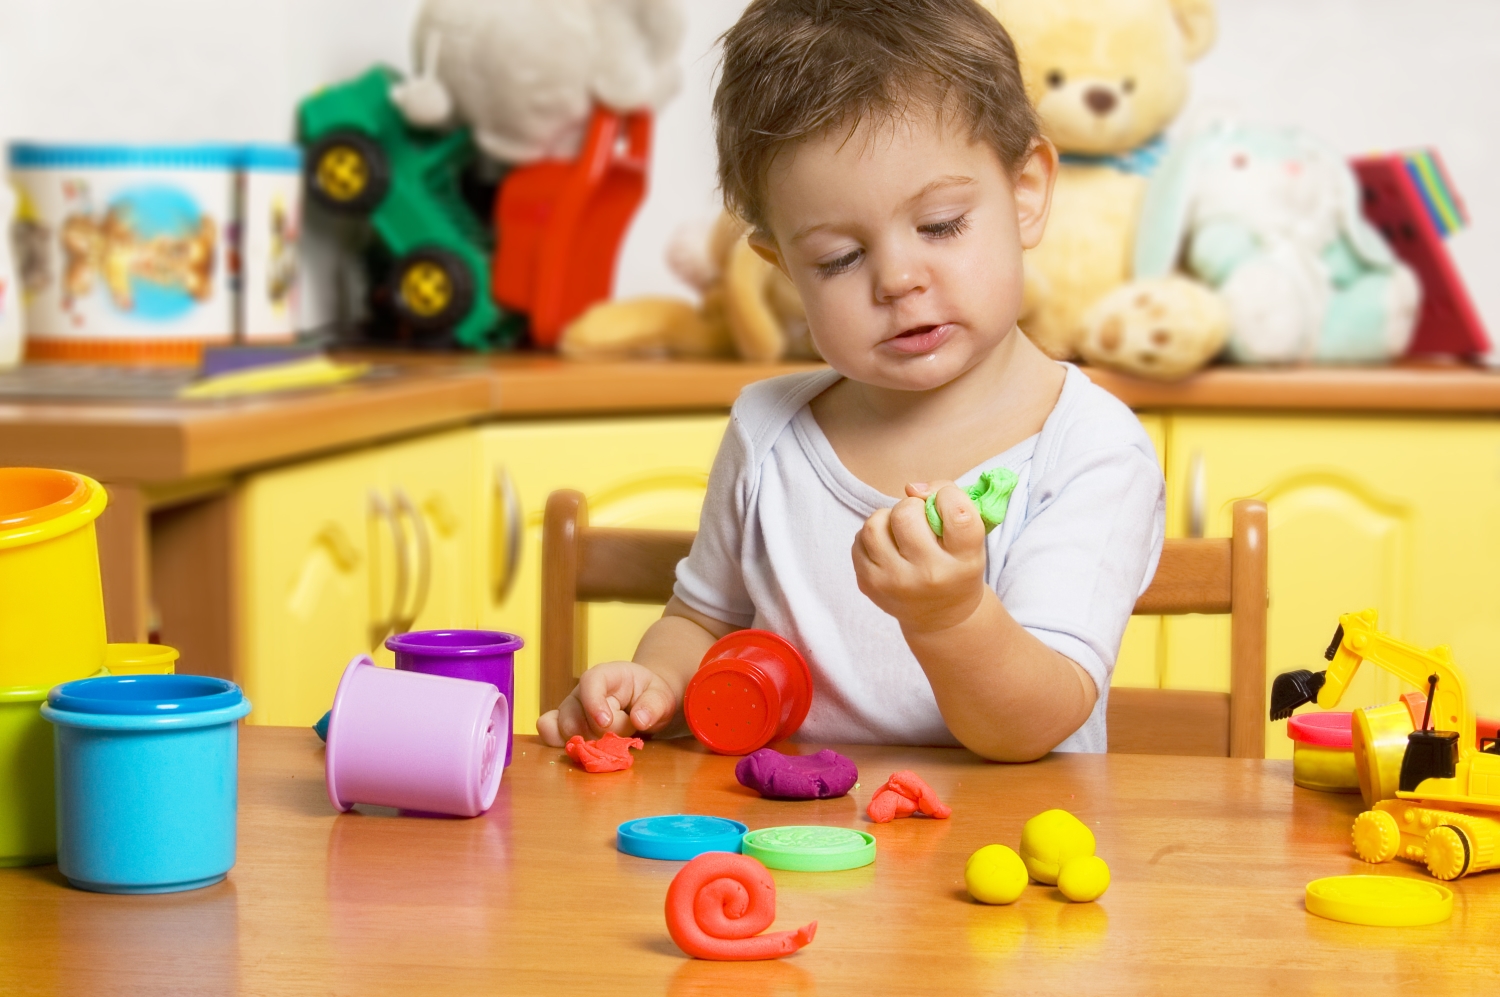
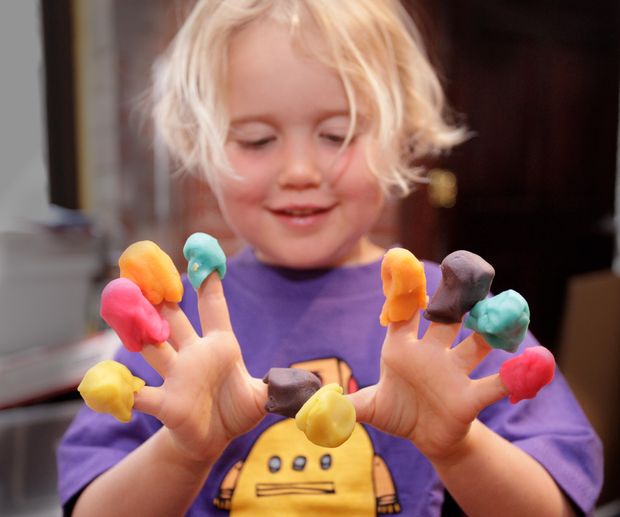
First of all, the dough for modeling helps the child to develop fine motor skills of hands and train the muscles of the fingers, and also greatly contributes to the development of imagination and creative inclinations. Nevertheless, only adults see the purpose of the masses this way, while babies themselves perceive children's dough as another toy from which you can create various crafts that you can be proud of later, subject to the success of the final result.
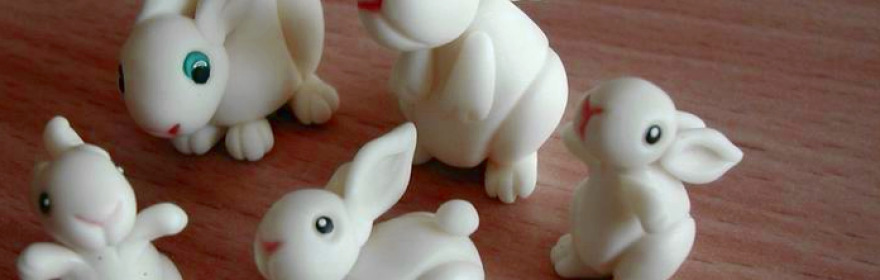
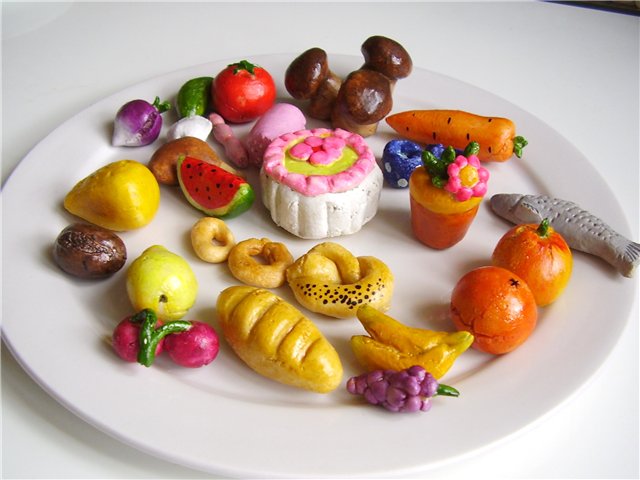
For modeling large volumetric figures with fine details, this material does not suit very well, because it holds its own weight rather poorly. For this reason, it is much more often used for sculpting small-sized figures, creating various compositions from them, and also as a raw material for creating volumetric paintings.
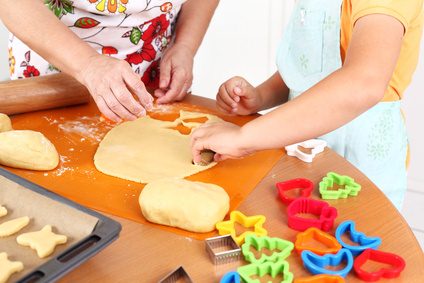
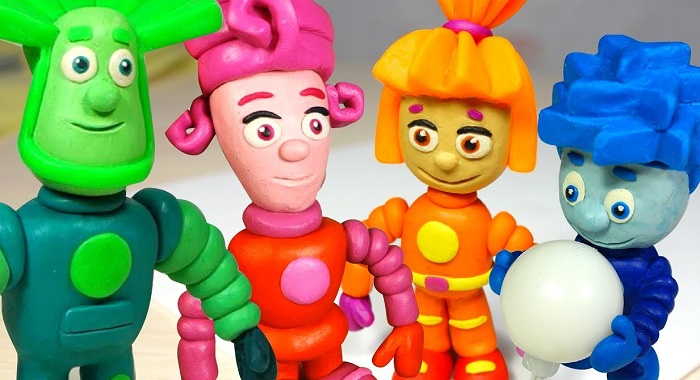
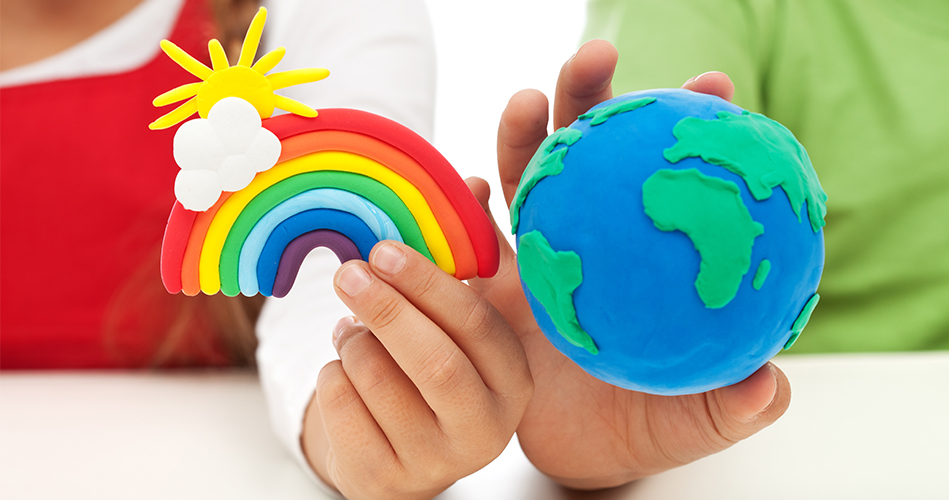
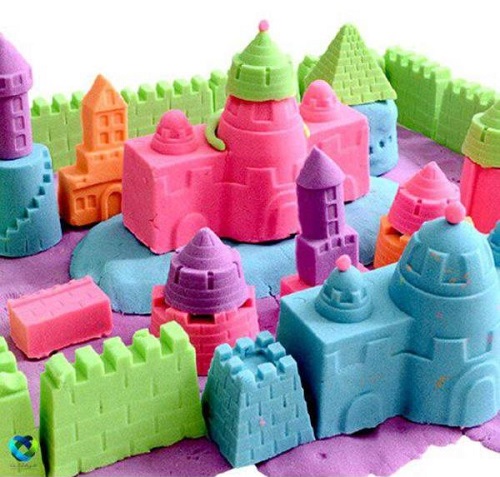
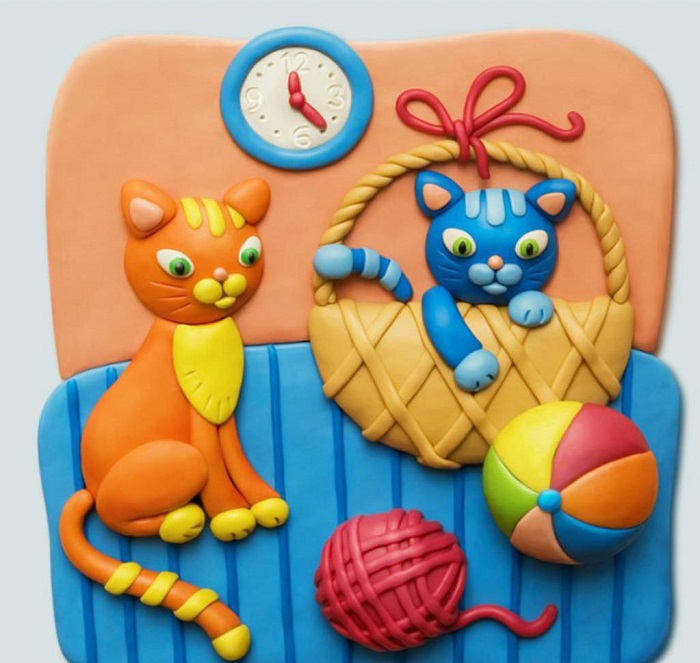
If, while focusing on achieving the first two goals, you still have to think about whether your plans will turn out or not, then you can look for inspiration for pictures almost anywhere. Plots are most often taken from nature - children make simple landscapes, animals, flowers, the same sun. However, this can not stop - if there is a talent, at later stages you can go to the production of serious images, and at least the heroes of your favorite cartoons. Fabulous castles, fairies - but at least Shrek and Fiksiki!
It should also be understood that different types of crafts by the children themselves are regarded differently. Kids usually want toys, so they are interested in volumetric figures. Compositions and pictures - this is real creativity, it is not intended to play, but it will help to gain recognition, respect and praise of others; therefore, such sculpturing results will be more interesting for older children.

How to knead their own hands?
Many housewives, realizing that the recipe for the mixture is actually very simple, prefer not to buy a lot, but to mix it up on their own. This is very easy to do, given that the ingredients that make up the composition will usually be found in any apartment, and if not, you can buy them literally everywhere. It will be much cheaper to make a mass by yourself than to purchase and in terms of properties, it will not yield to many varieties of store products - all that is needed is to know the correct proportions.
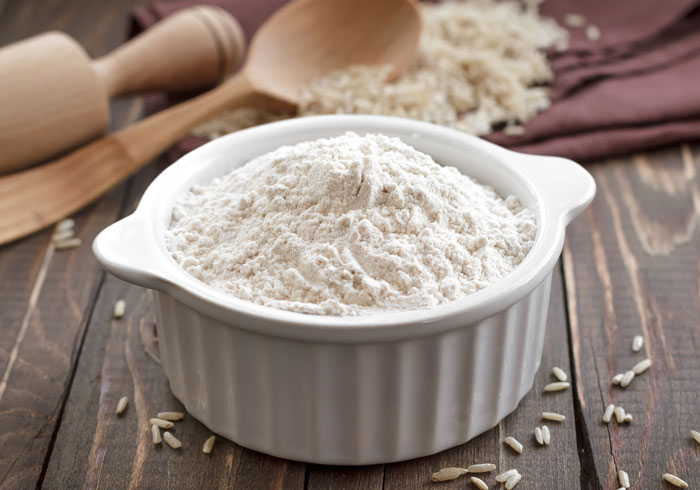
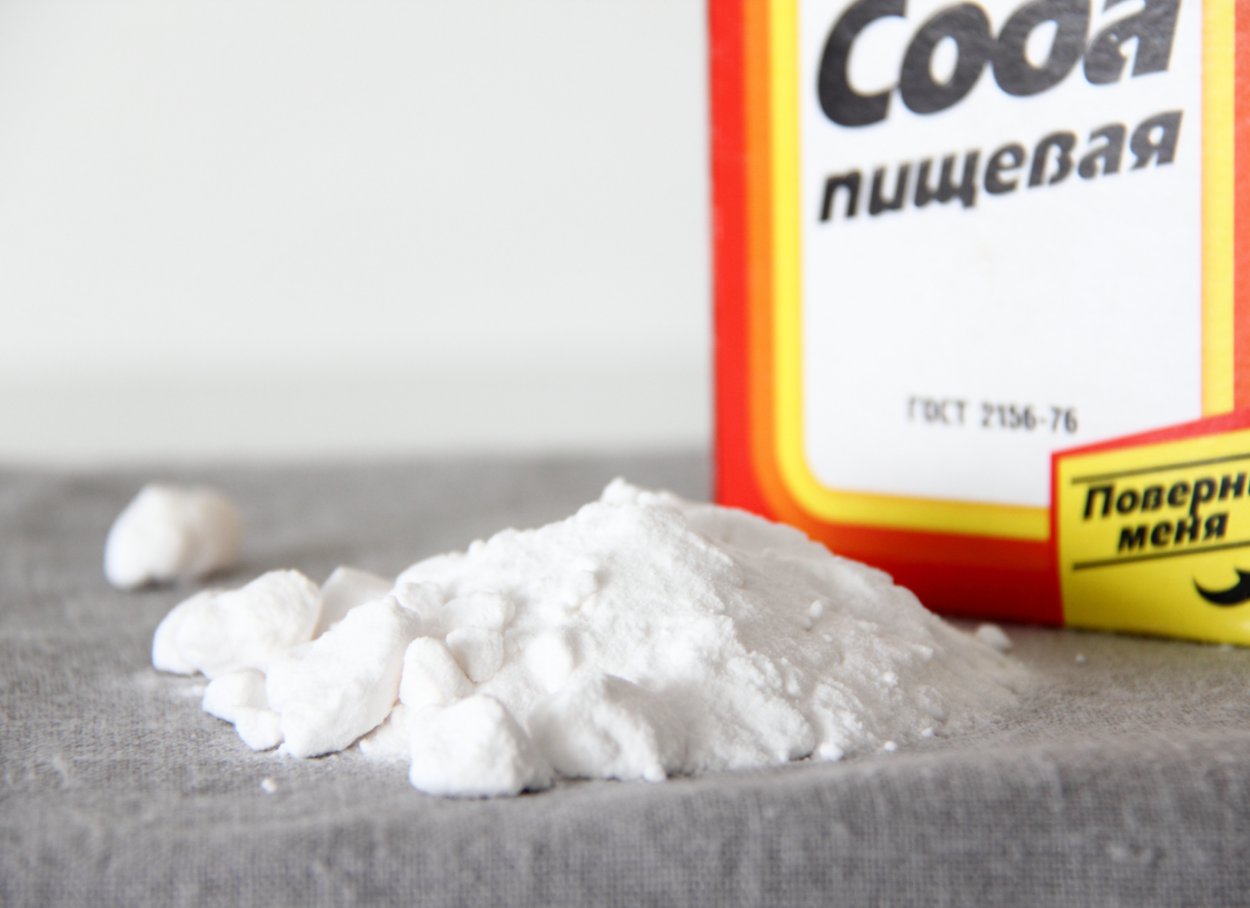
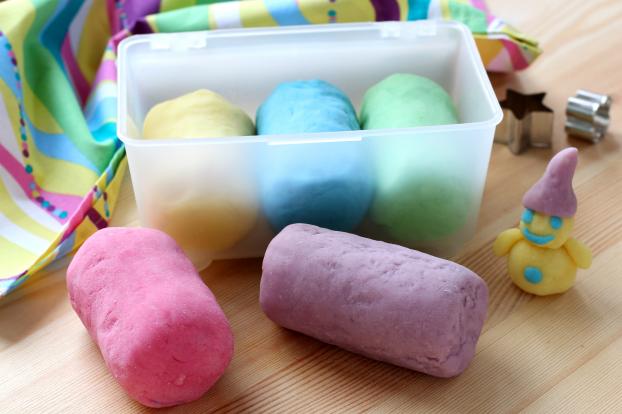
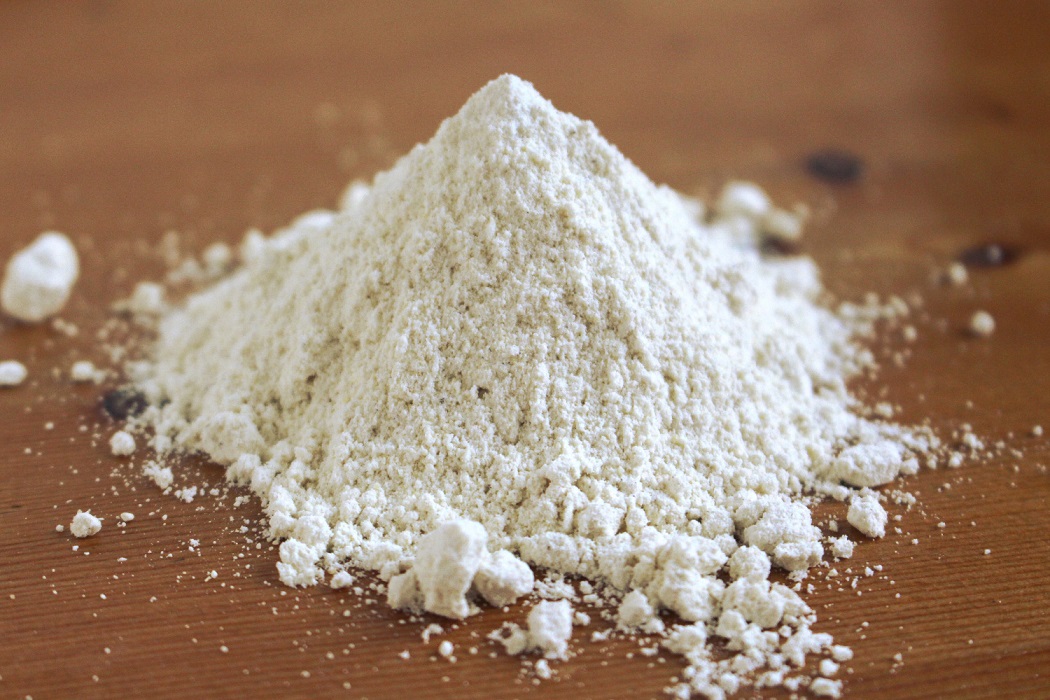
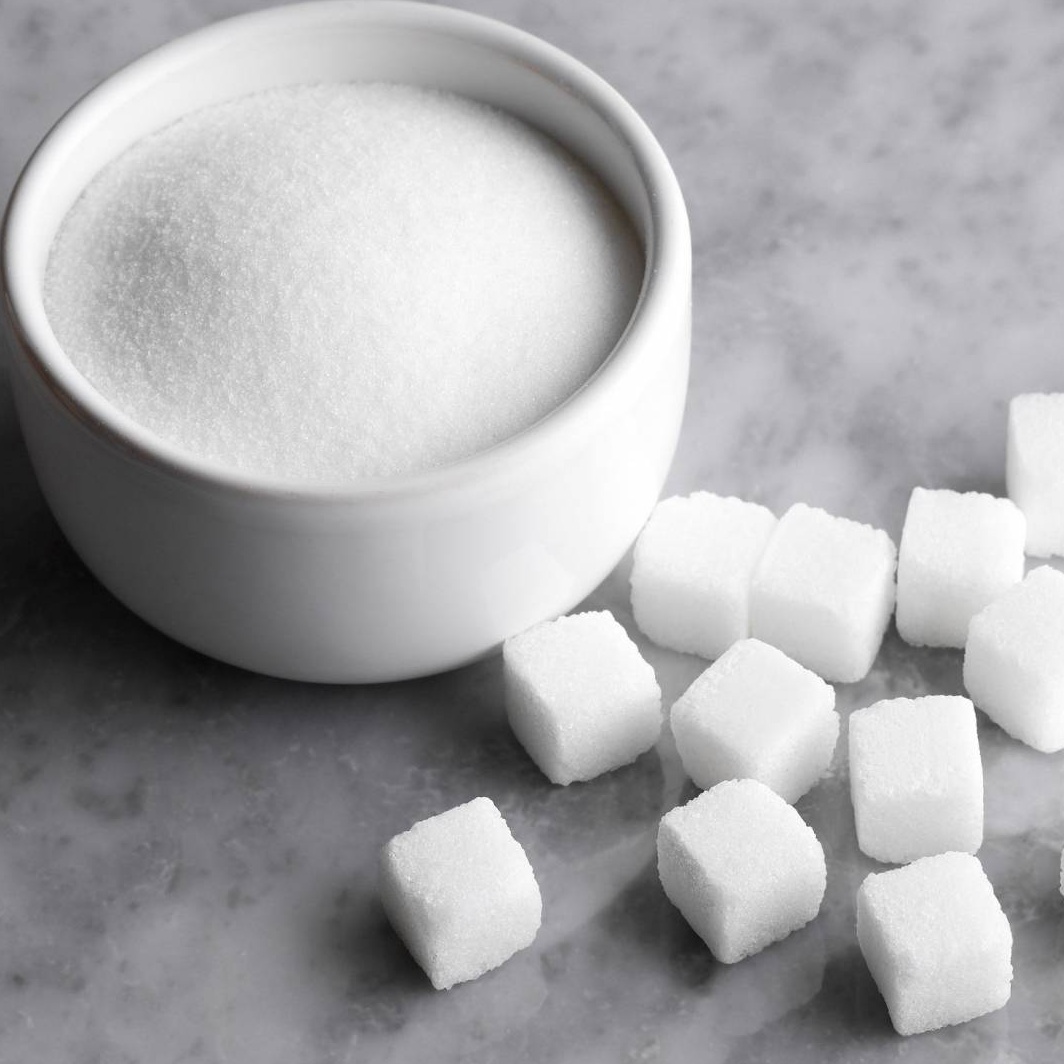
If you are far from being a master, but still want to try making homemade clay yourself, pay attention to the best in terms of simplicity recipe. The materials used for the preparation, will surprise with its simplicity - the mass is made from flour and salt, the composition also includes ordinary water. Exact proportions differ due to the fact that the final mass can be of different density, but usually they are indicated as a glass of flour and half a glass of salt per half glass of water, and then experiment.


For a more elastic state, a tablespoon of vegetable oil is also added, and an extremely improved version is prepared with citric acid (two teaspoons).
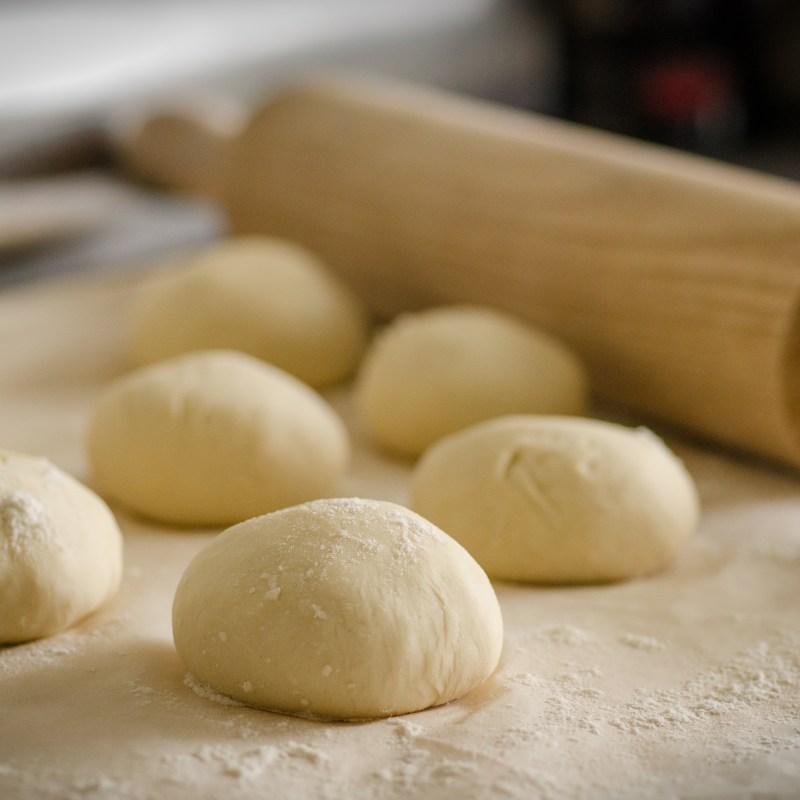
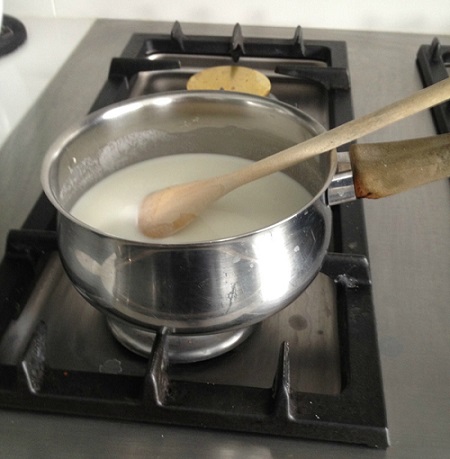
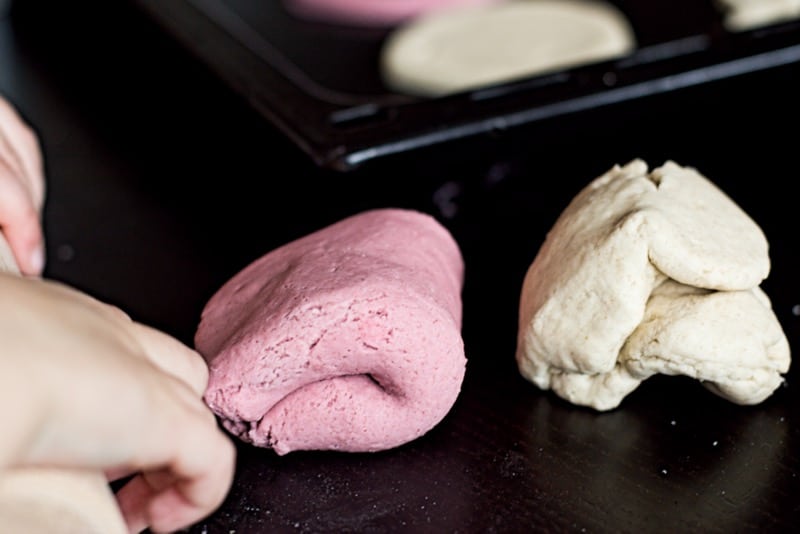
However, for the molding is not used the usual dough, and the brew. The described ingredients are not just mixed, but put in a saucepan over medium heat. The exact time is never indicated, because the pots and the plates are very different, but if the mass for sculpting has thickened and has become homogeneous - it's time to pull it out.
In the process of heating the mixture must be stirred to achieve a homogeneous mass, but after removing it from the pan, it is again diligently mixed on a flat surface, dusted with a small amount of flour. The finished dough keeps its shape well, does not stick to hands and does not contain lumps.

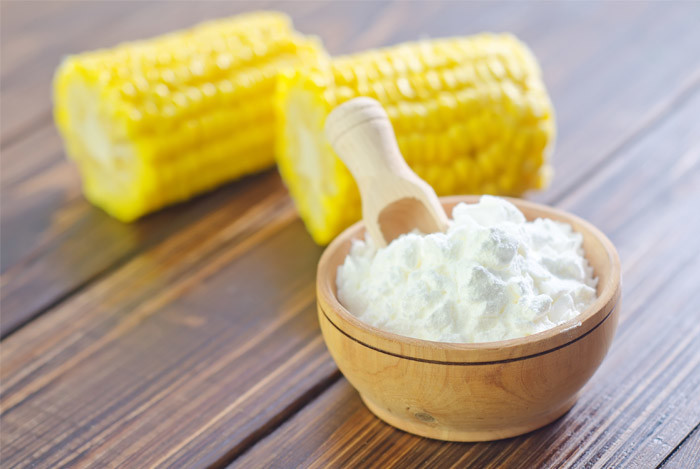
Of course, only this recipe makes homemade types of clay not end. In fact, you can make a thick notebook and write it all over with different recipes of clay, but the most popular one is another recipe, suggesting alternative ingredients and made with starch. For this, two glasses of ordinary baking soda are mixed with a cup of cornstarch and half a glass of water, after which the procedure resembles that already described above. Salt is not included in this recipe, so young children can just eat this type of mass.
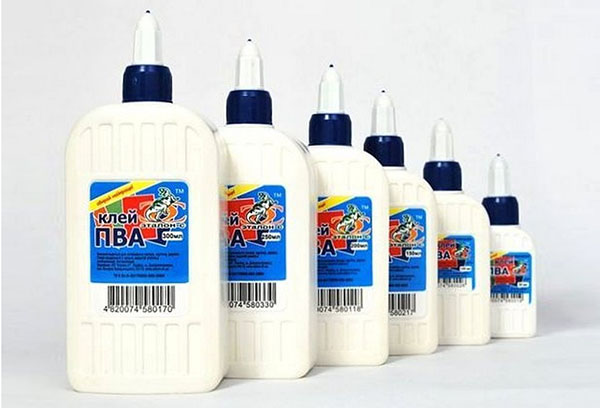
For greater durability, handicrafts are also used a recipe with white glue - products made from it are somewhat similar to papier-mâché. A glass of finely ground salt is mixed with the same amount of flour, into which a mixture of about half (or slightly more) glasses of water and a tablespoon of glue is gradually poured. It is necessary to stop topping up the water at the moment when the future “paper” dough stops absorbing it. After that, the mass is thoroughly mixed, since the grains of salt do not have time to dissolve in it, and the recipe does not imply a heat treatment.
Next, the mixture is cooled in the refrigerator, and it can be used as intended.
How to make color dough at home?
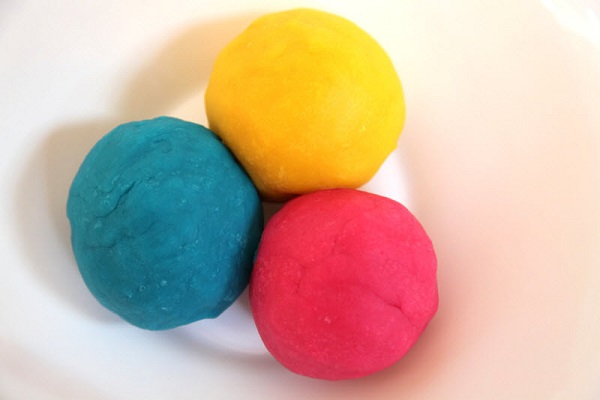
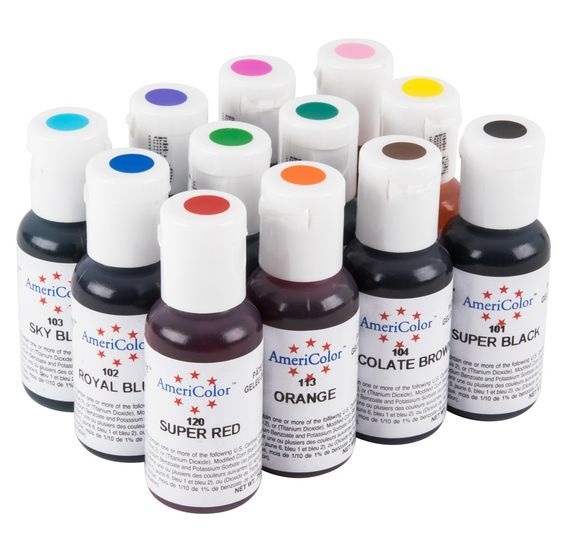
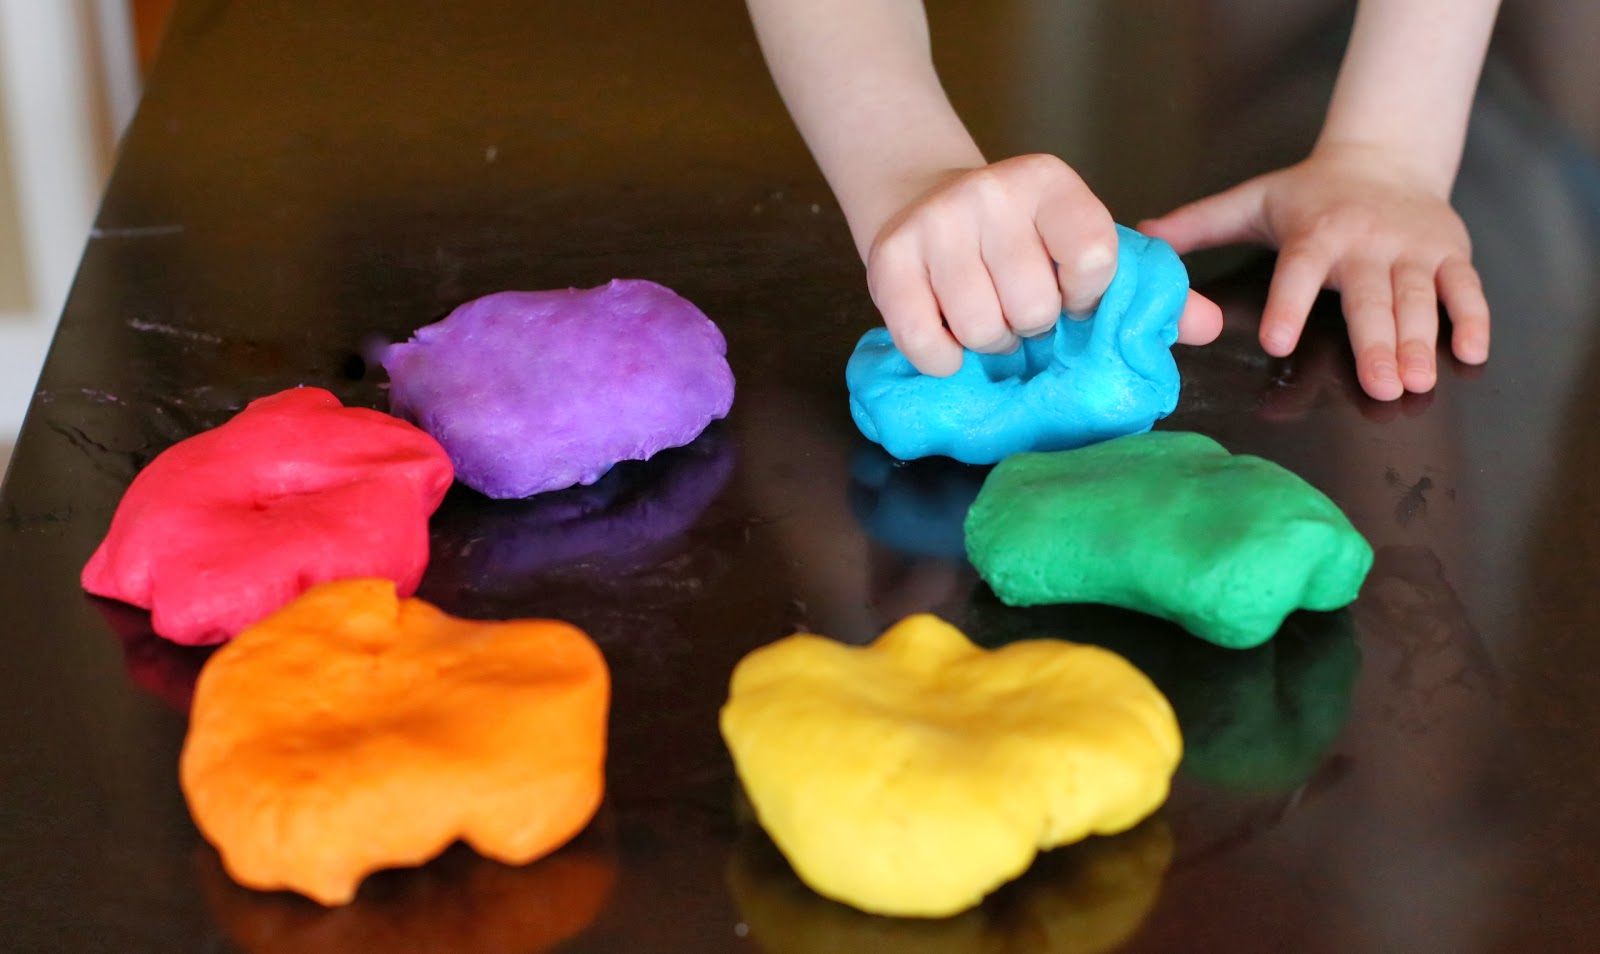
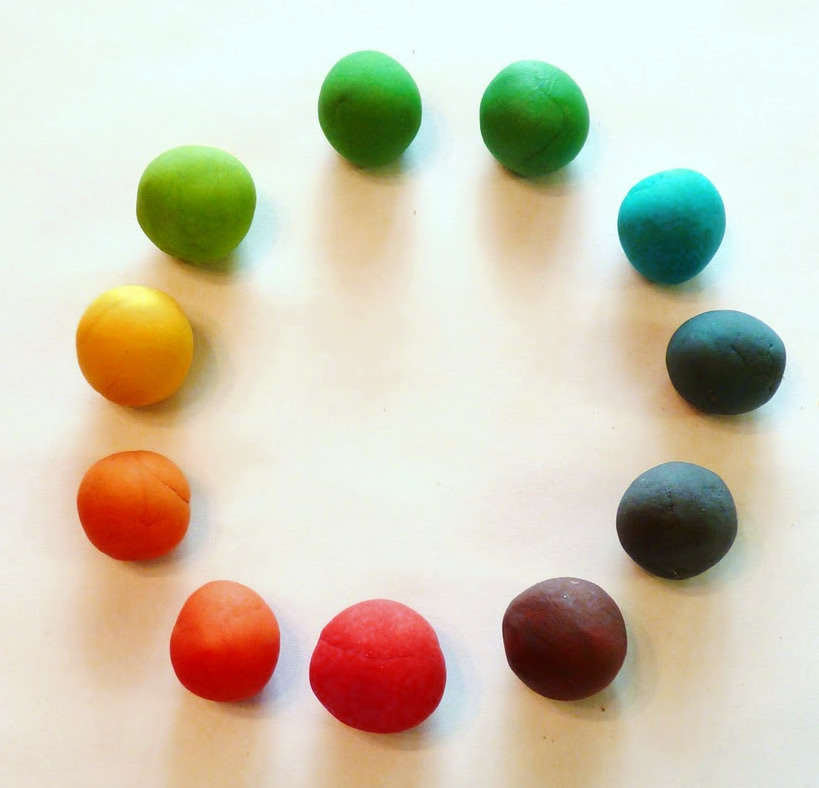
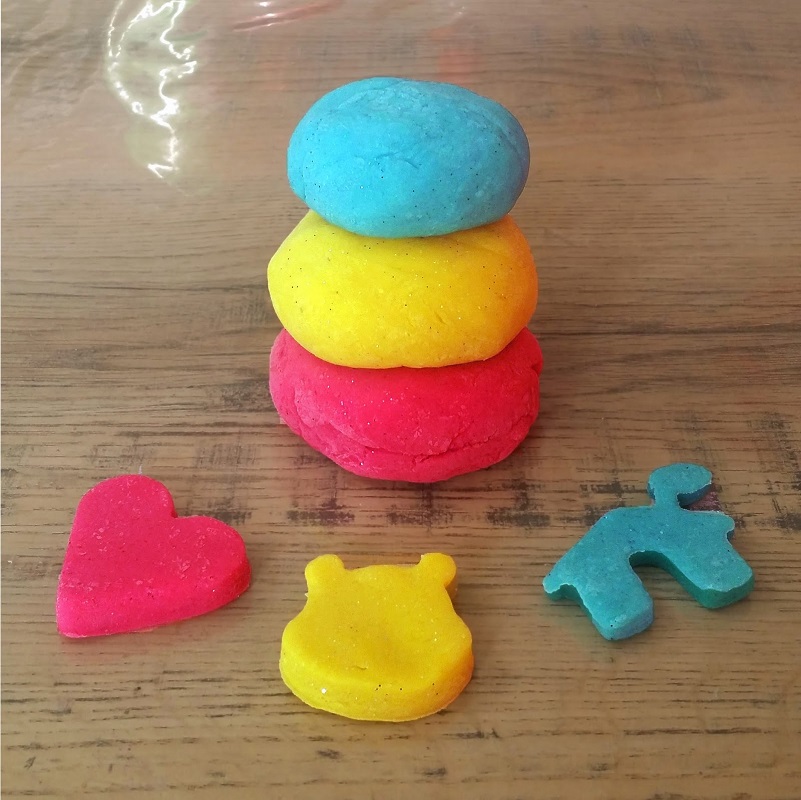
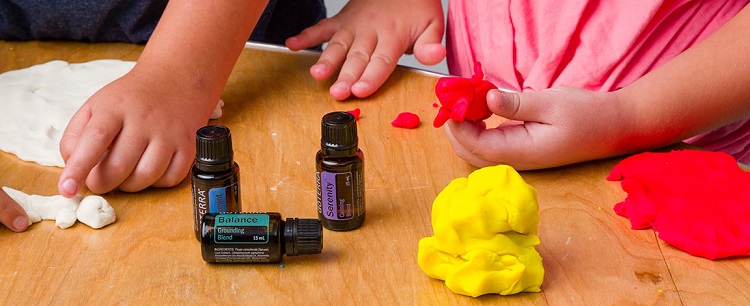
Making salt dough at home does not require much effort, but I want the result to be bright and beautiful, like Play-Doh (play-up). To do this, dyes are added to the dough - this is possible both at the preparation stage and when there is already a finished colorless mass.
To achieve the desired effect, you can use special food dyes, which are sold in many cooking stores. They are liquids that are mixed with water in the cooking process (if it is in the recipe), and after cooking such dye may be mixed into the colorless dough. Experts indicate that in this way you can paint the dough quickly and easily, but the result may not be very impressive - the mass will get more shade than color, and for the normal brightness of the purchased dye you need a lot.
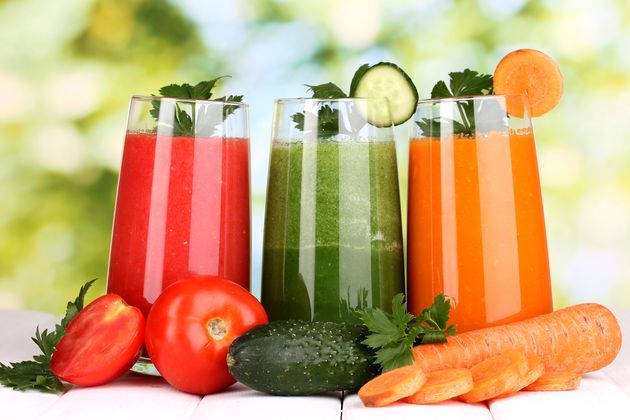
Dye, by the way, you can not buy, using all the same natural ingredients. Most often in this role, use the juices of vegetables and fruits: beets give a red color, carrots - orange, and so on.
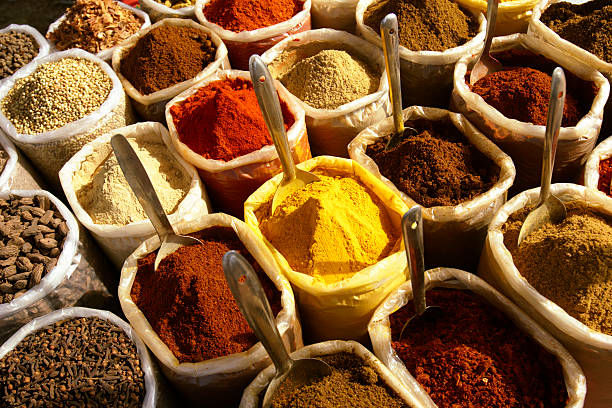
Such juice can be squeezed out independently or bought, as an alternative, any drinks of the appropriate color will fit. To give the dough a yellow tint, various non-spicy seasonings are often used, and brown - coffee or tea. However, it is worth considering that such a substance is not a specially selected dye, so the result may be even more faded.
You can paint the dough and not food coloring, and ordinary gouache - the scheme looks exactly the same. At the same time, it is not difficult to get such a paint, because it is used for creative training in children's educational institutions, and is inexpensive, but the color gives a very bright, which is what we need. True, it is noted that such an ingredient very thinning mass, therefore, using this method, adding a certain amount of flour is necessary.
What can paint the finished product?
Coloring the dough as a raw material is suitable for creating simple handicrafts, but complex compositions with a large number of multi-colored parts are easier to make from a single-colored mass, which then, after drying or baking, will be painted on top. At the same time, the specificity of the material dictates its own features of the coloring procedure.
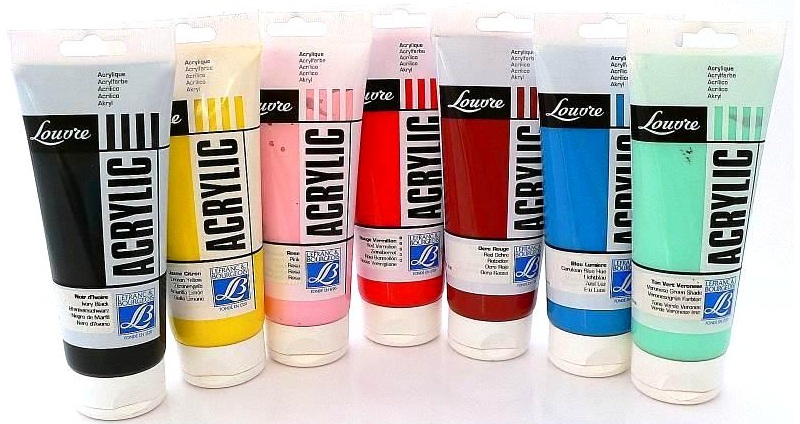
People with extensive experience with dough for modeling indicate that painting finished crafts is best acrylic paint, because only so you can ensure that the product will not get dirty, and the colors on it will not smear. Watercolor is acceptable to apply, but since the dry dough is very afraid of water, the paint should be mixed extremely thickly - this will help her not to spread.
When painting with watercolor, there is still a great risk of smearing the contours, therefore the figure is necessary Be sure to varnish after staining. Gouache is also used to paint finished products, but in order to keep it on the surface of the figure, it must first be mixed with a small amount of PVA glue.
Varnishing, by the way, is recommended for all types of dyes, because it is able to protect the surface from accidental ingress of water, and bright colors - from burning out. Liquid varnish is absorbed into the crafts, which requires repeated repetition of varnishing and is a procedure for many days, but the result is just bright, and not just brilliant.
Thick varnish is also used, but it is still less common.

How to dry?
In the dried form, the dough articles are preserved much longer, but in order for them not to fall apart themselves with time, it is necessary to withstand the procedure. It should be noted that there is no exact description of it anywhere - it all depends on the specifics of the source material and the exact drying parameters.
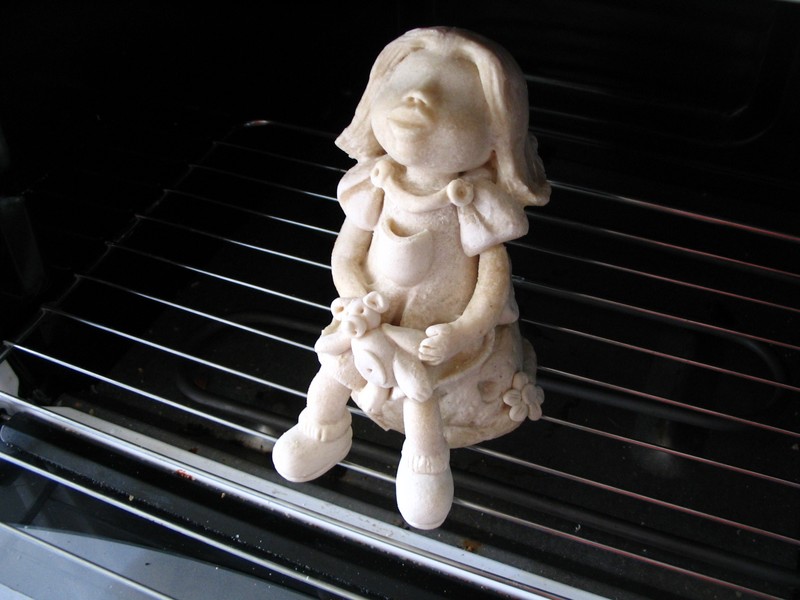
The dough for modeling hardens even just outdoors - beginners usually rely on this method.The main drawback of such drying is the drying time: the dough dries on average one millimeter in depth per day, so a small figure of even small size can dry for weeks.
You can speed up the process by arranging drying on radiators, but there is also a risk - due to the heterogeneity of the consistency (soft dough inside, hard outside), the product is likely to deform.
For this reason bake masterpieces better, moreover, a microwave oven for such purposes is not suitable at all - you only need to use the oven. There are many detailed descriptions of the process, indicating the exact duration and temperature, but in fact no one really knows how much the dough from the oven dries - it depends on the shape of the craft and the shape of the oven.
It is even noted that the baking sheet is able to influence the procedure - black provides a more efficient drying, and therefore it is necessary either to reduce the temperature by twenty degrees or shorten the baking time.
In general, roasting lasts several hours at a temperature that gradually grows from 50 to 150 degrees. If the dough was pre-painted, the upper limit of the temperature is 125 degrees, because with more intense heating the dye will collapse. The process of roasting is not forbidden to stretch for several days. You can check the conditional readiness of the product with the help of the sound that it makes when you gently tap it on the surface - the solid filling responds with a sonorous, cheerful sound.
How to store?
Despite the fact that baby salt dough for modeling can be kneaded at any time, mothers still prefer to find a way to keep the mass for a certain long time, rather than re-prepare it every time a child has a corresponding need. It should be noted here that this mixture definitely dries out and loses elasticity, but there is a difference - in a month, or in a couple of days.
The most obvious method of storing mass used by industrial manufacturers is the tightness of storage. The store product is sold in special jars with a tight lid, and if they remain in the house after the previous purchase, it is best to use them. Alternatively you canlot wrap the pieces of dough in cellophane or polyethylene, however, this method is less reliable.
Refrigeration may also help to avoid drying out, since cold basically slows down most chemical processes.
If you need to save the finished product, then, first of all, you need to carefully protect it from water, as even a small drop will leave a very noticeable mark. To give strength to a figure it is best to bake - then it will become quite solid, and not strongly exposed to external mechanical stress. Additional varnishing of baked products will save it even from accidental moisture, so you can be proud of creation for a long time.

Edible dough for decorating the cake
If the child sculpts really interesting figures, and makes it out of potentially edible material, you can use it in home cooking. If the baby is already old enough to understand that playing dough products still will not work for a long time, he will most likely be happy with the opportunity to pleasantly surprise everyone by taking a direct part in creating the cake. The implication is, of course, not puff, and not even the usual dough for pizza, but the mass that can be made with your own hands, perfectly molded, and most importantly - amazes with its taste!
The first recipe is very simple - half a cup of Nutella is mixed with the same amount of flour, adding a tablespoon of powdered sugar. The finished mixture becomes much thicker than the usual Nutella, which allows you to keep the shape, but the taste is still very much like the original ingredient.

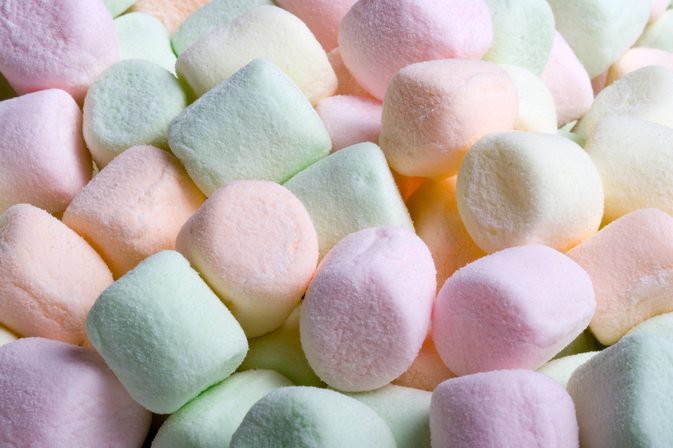
An alternative is to flood three marshmallows with a couple of tablespoons of peanut butter in the microwave (no more than 10-15 seconds), then mix the mass thoroughly and add all the same tablespoon of powdered sugar. The amount of the last ingredient must be increased if the finished mass sticks to the hands. It should be noted that figures of such a mass dry very quickly and keep their shape well.
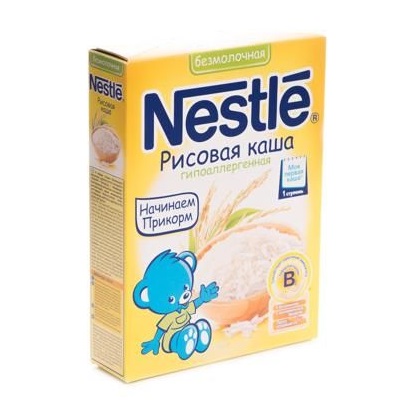
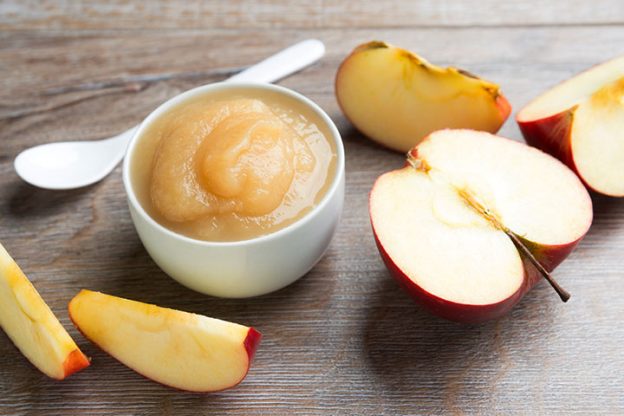
For children who should not eat gluten, there is a gluten-free recipe. You will need a cup of special soluble rice porridge, and the same amount of starch, to which is added another half cup of fresh apple puree and two or three spoons of vegetable oil for plasticity. The mixture is kneaded until it becomes homogeneous, but if the result is too sticky, you need to gradually add rice porridge until this effect disappears.
What to do if the dough for modeling is withered?
There is a general rule that a dough that has completely dried up cannot be restored - only a mass can be restored, which is just beginning to lose elasticity. At the same time, due to the difference in compositions, the methods for reducing the mixture differ, although there is one regularity - always need to add a plasticizer.
If there is vegetable oil in the dough, you can try to add a small amount of it to a piece of the mass and knead it carefully again. For most varieties of homemade water-based plasticine, a small addition of water will also be an effective help - for this, the lump is kept under running warm water, and then carefully squeezed and dumped again in flour (or starch).

However, the material as a whole is short-lived, and it will not endlessly restore it.
If you see that plasticity is decreasing, you may simply need to make a new mass, and if disappointment causes the duration of use, next time pay special attention to the storage features of the finished product — provide a more reliable tightness and cold.
Interesting ideas for sculpting with children
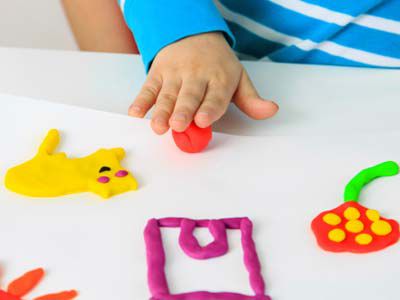
Probably the simplest thing you can do from modeling dough is toy food. It is relatively easy to make it, with damage, the child can always make a new one, but imagine how much more interesting it will be for him to play, even if such details are not imaginary, but real.
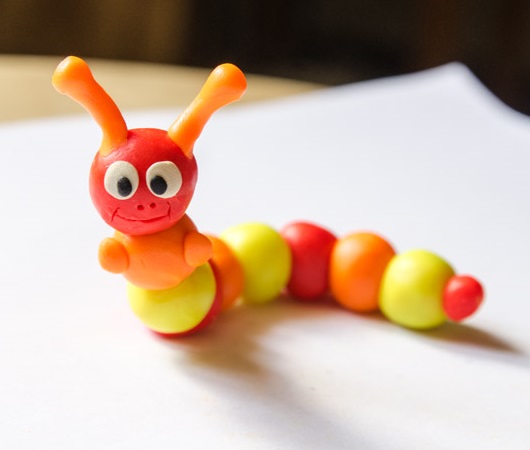
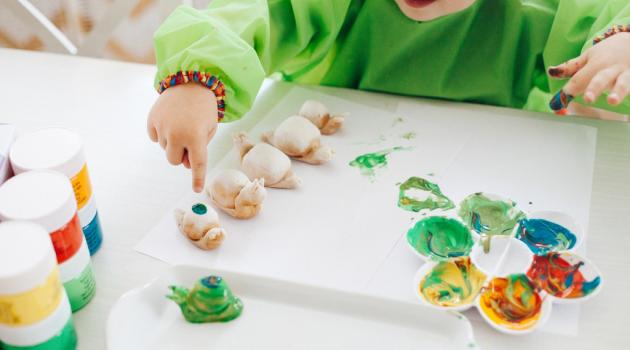
For interesting three-dimensional handicrafts, by the way, outstanding skills in the field of modeling are not always needed either - rather, creative approach and imagination are useful. For example, the photo shows that just such a pretty caterpillar on a flower can be made from fairly simple “balls” and “pancakes”.
If the child has learned to give the material any shape, and is ready to show patience in the process of creativity, it's time to go to the pictures. Although they will look very childish, this does not detract from their cultural value.
This video instruction will help you to make a salty dough for making your own hands.