Wooden sleds: types and tips for making
The severe and cold winter in the memory of each of us is still associated with a festive and bright time. The reason is not only the most important holidays, but also the childhood that all of us loved to spend on the street, sledding, skating or even skiing. If you want to plunge into childhood again, then we suggest you make these sleds with your own hands.
What to do?
If the material itself does not cause production, then about the shape, length, thickness and type of wood there are many unexplained points that will be dealt with in this article.

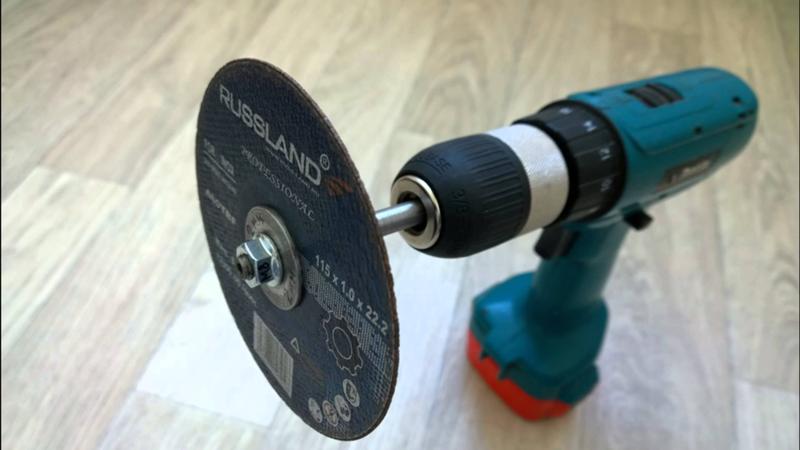
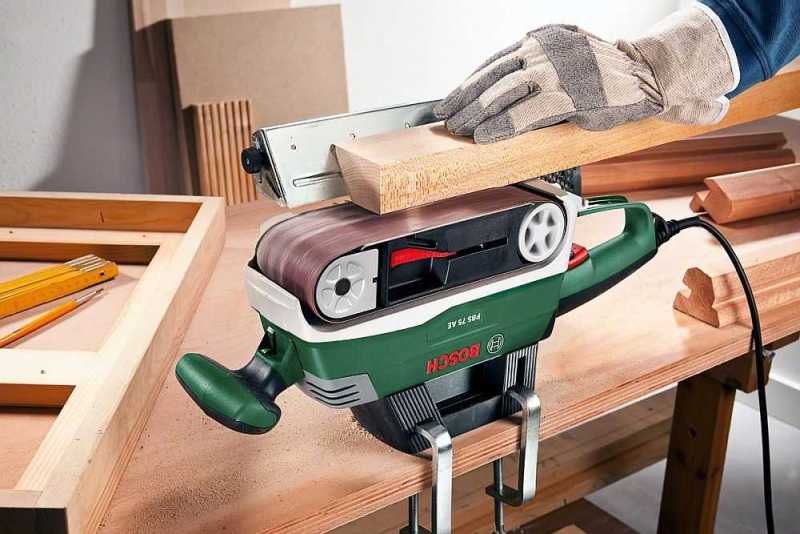
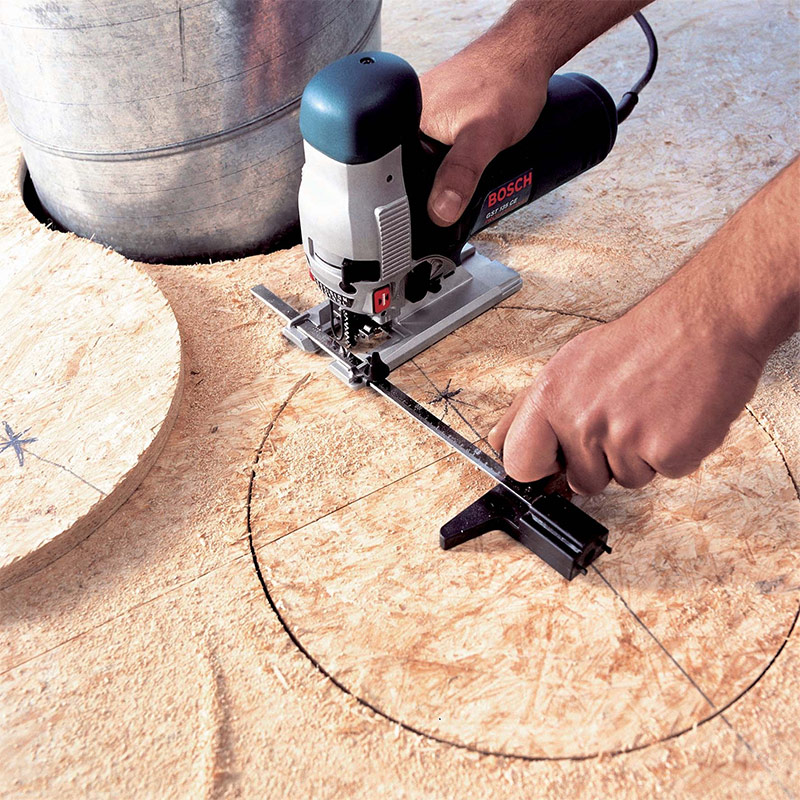
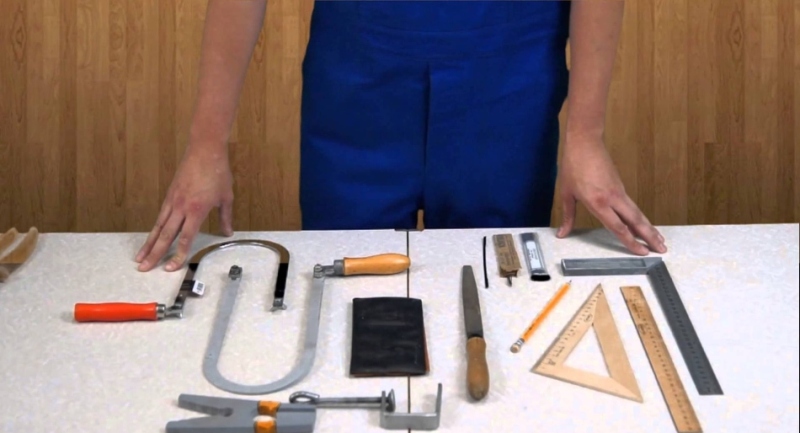
It is best to buy ready-made small planks of treated wood, but if there is no possibility to purchase one, then you can cut them out of the tree yourself using a woodworking machine. For wood processing will also need a grinding machine, jigsaw and drill.
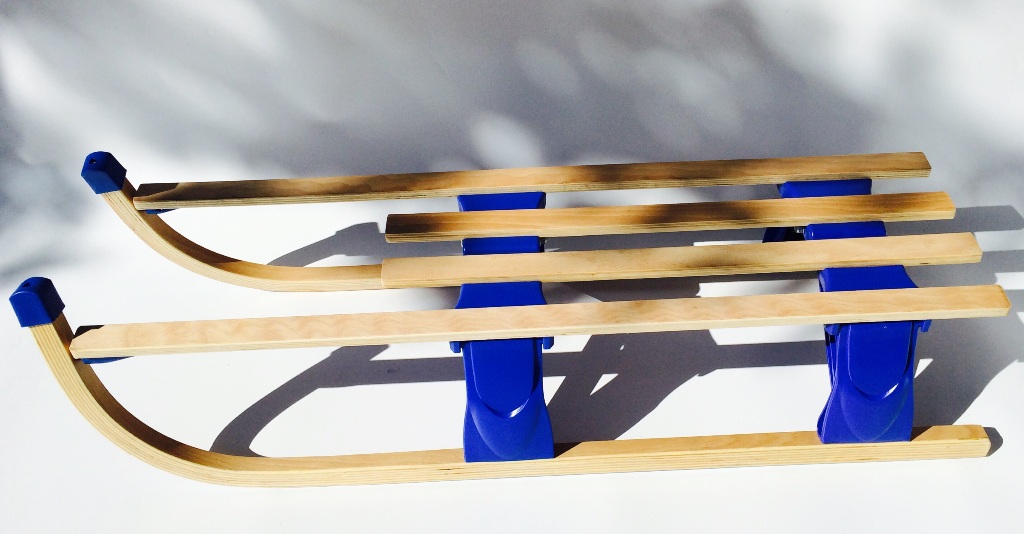
In addition to the bar of wood, you will also need metal strips, the best for sled fit aluminum strips.
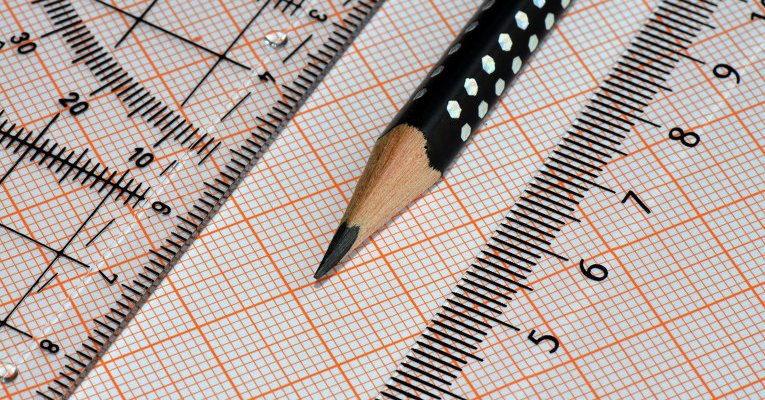
For drawings and drawing different marks, you will need to take a standard set of the student: a ruler, a pencil and paper.
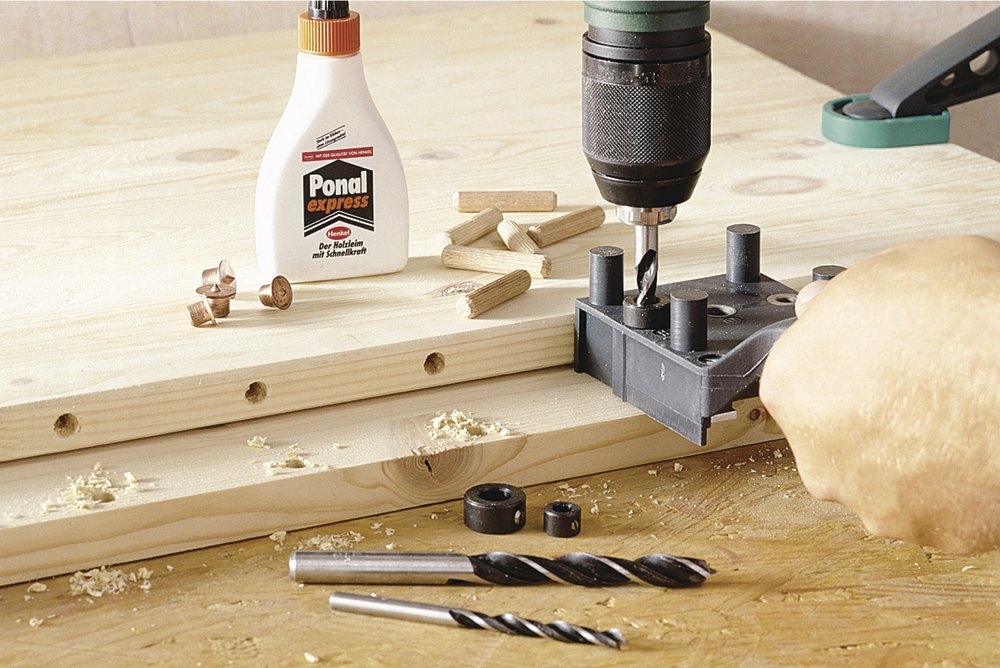
Wooden spikes, screws, round cross-beams, as well as glue are small but important details with which children’s wooden sleds cannot be assembled.
Instruction
Below is one of the options to build a sled of wood for children with their own hands. The whole process is divided into the following stages:
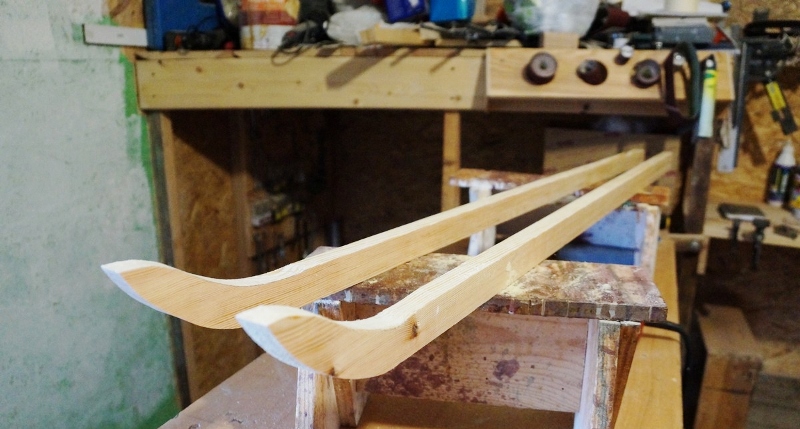
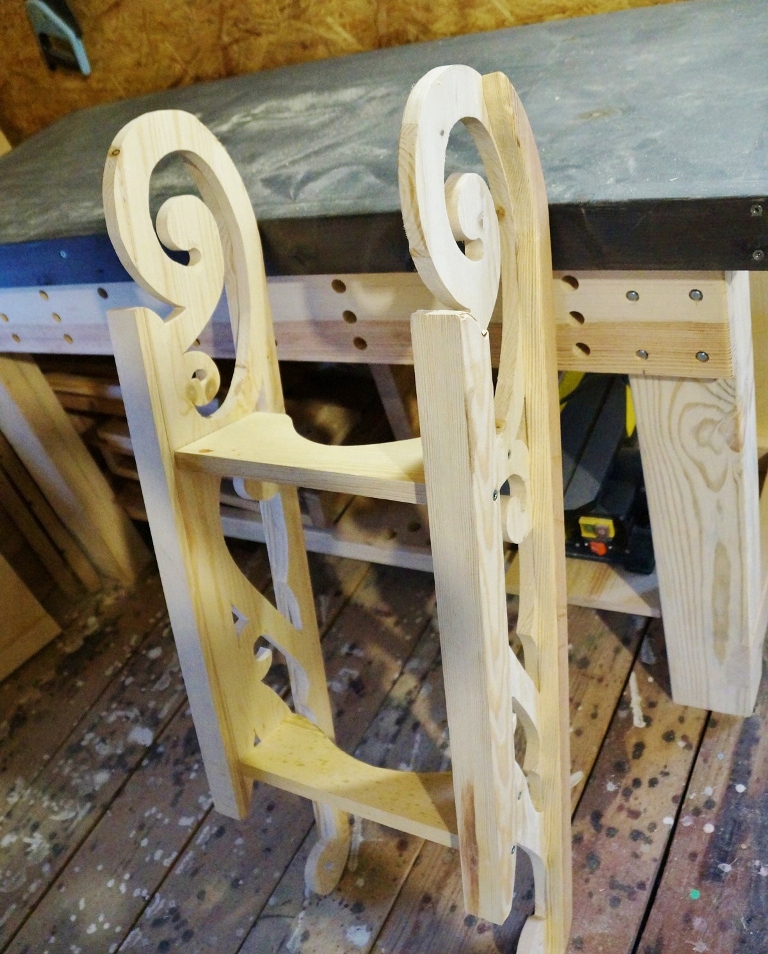
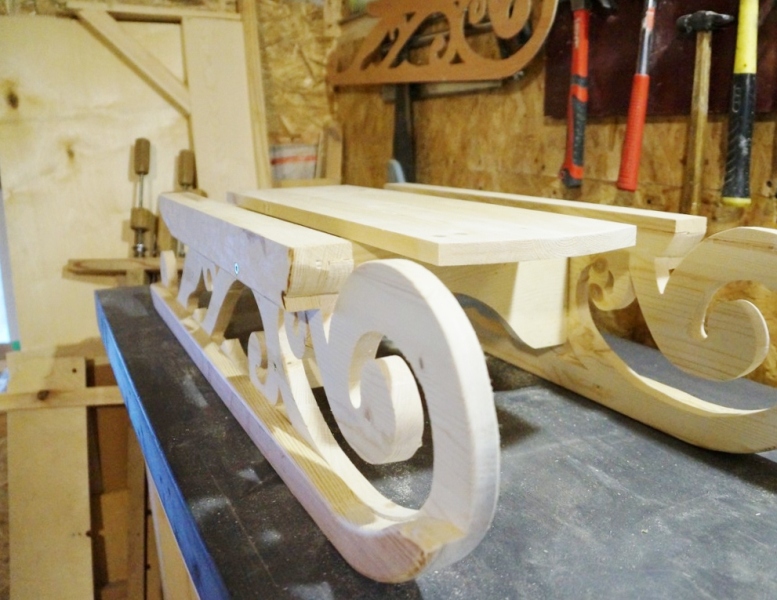
- The first stage is the preparation of the drawing and the main details. First you need to put a drawing of the runners on the paper. They should not be small, but should correspond to their true size. After the drawing is completed, you need to transfer it to the tree using a pencil. Marked future runners should be cut with a jigsaw. It is important to remember that the drawing must be made for each of the runners separately and cut them also on a separate drawing. After it is necessary to use a grinding machine in order to make the runners suitable for use. If you plan to make a large sled, then you need to glue the extension strips to the runners on both sides (front and rear) with glue and screws.
This process should be treated very carefully and patiently, since not dried glue can lead to breakage, and improperly installed screws will interfere with the subsequent polishing of the entire new elongated design of the runners. At this difficult first stage can be considered complete.
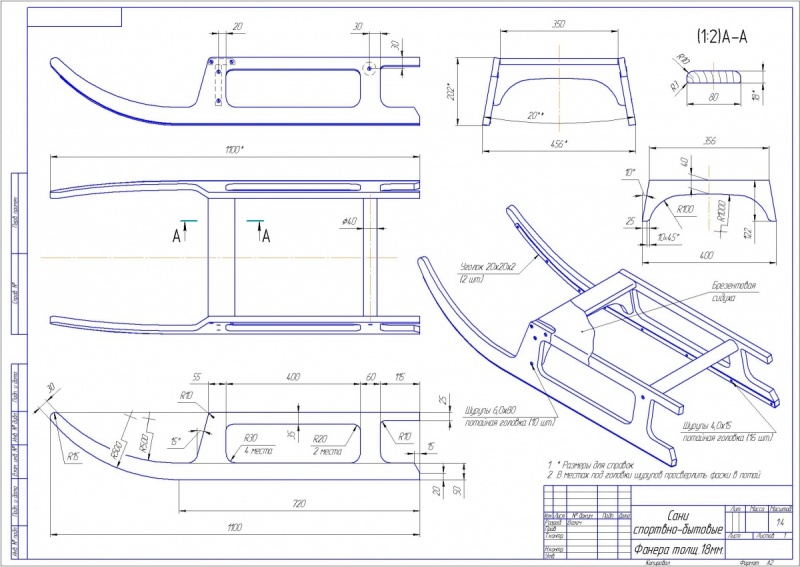
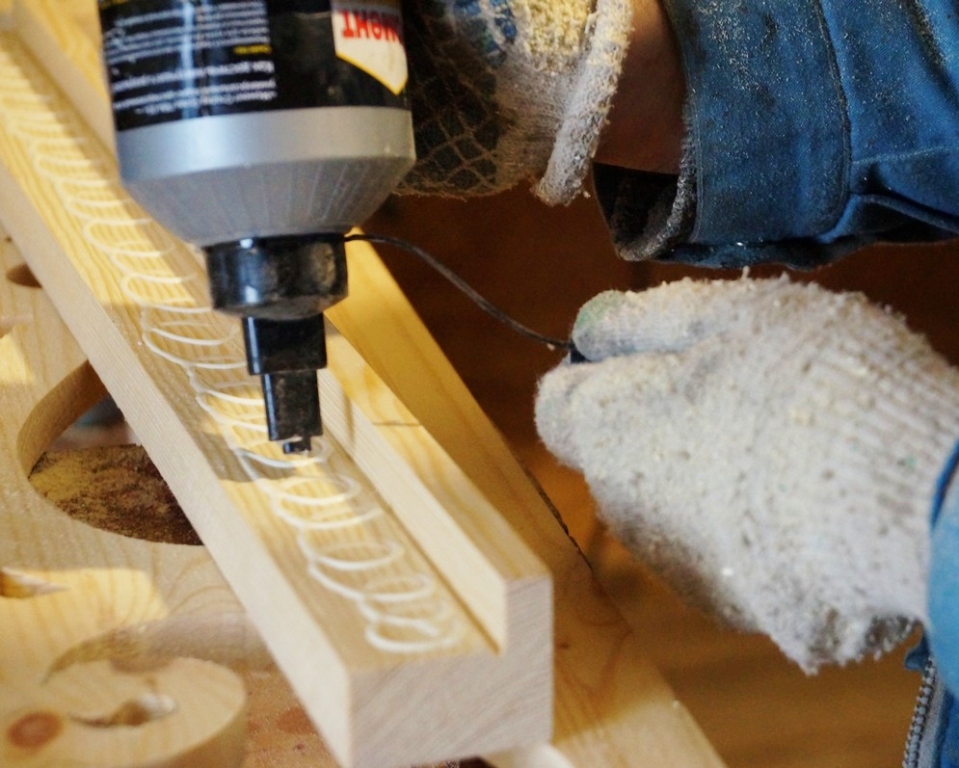
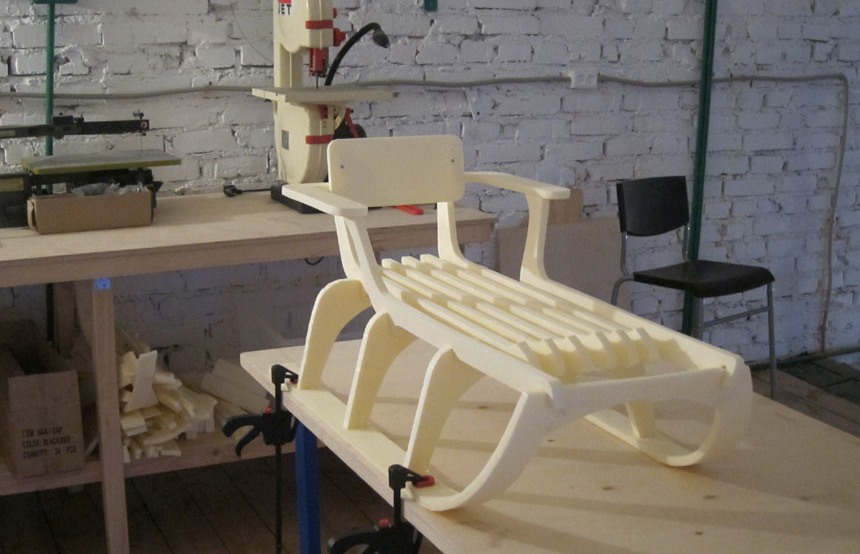
- The second stage is the fastening of the runners. This stage is highlighted separately, as it will require, as usual, accuracy and will take some time. First you need to drill a hole in the middle of each runner with a drill, then do the same with the crossbars. At this stage, it is important to coordinate the holes in the runners and crossbars so that they can be fastened together.
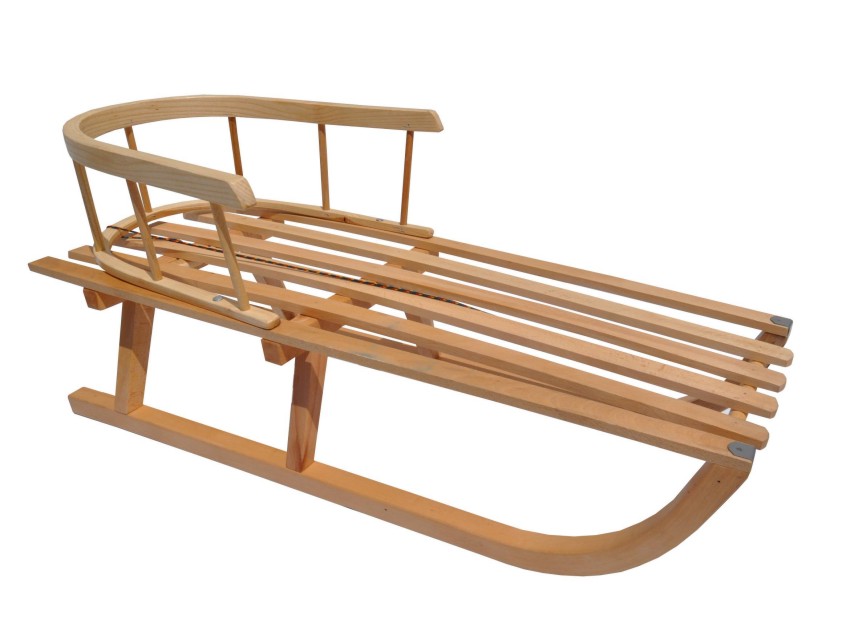
- The third stage is the preparation of the seat. Seats you can cut to your taste. They can be from narrow boards, from several wide, and even in the form of one continuous seat. The distance between the boards in this case should not be less than 5 mm. The main thing - to dock them with the size of the runners. In order to do this, you need to drill holes in the places where they will be attached with the latter. Seat boards are fixed with spikes.
- The fourth stage is the final one. Runners, like any wooden products must be protected from any external influences. To this end, metal (aluminum) sheets are attached to the lower parts that are in contact with the surface. This is done with screws. On this manual sleigh can be considered ready.

What else do you need to know?
Some necessary tools can always be replaced with cheaper and disposable ones. You can avoid unnecessary spending, for example, on a grinder just for the sake of one. It will be replaced by sandpaper.
It is not necessary to purchase wooden blocks separately, it is enough to use the remaining wood from other buildings or repairs.
For a homemade sled fit any hard wood.
Screws can be replaced with nails, and a hammer drill. It is only necessary to get good nails from stainless steel.
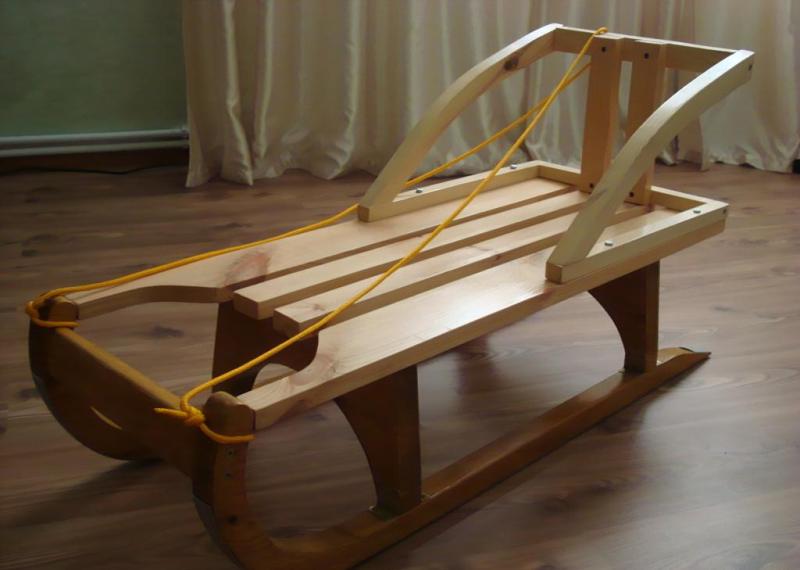
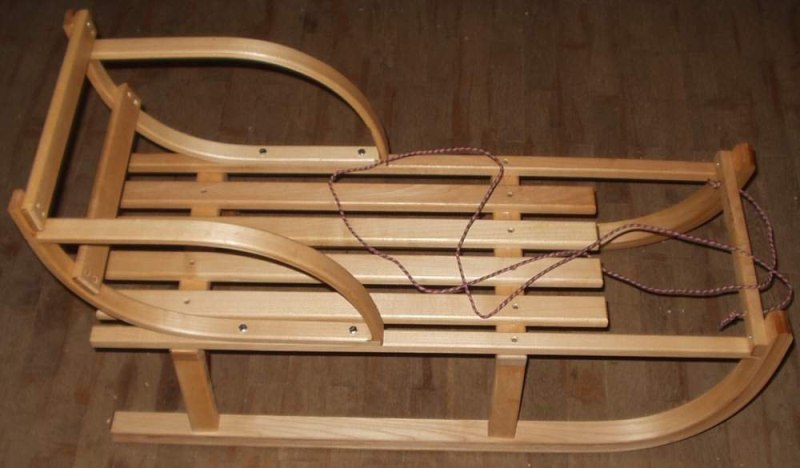
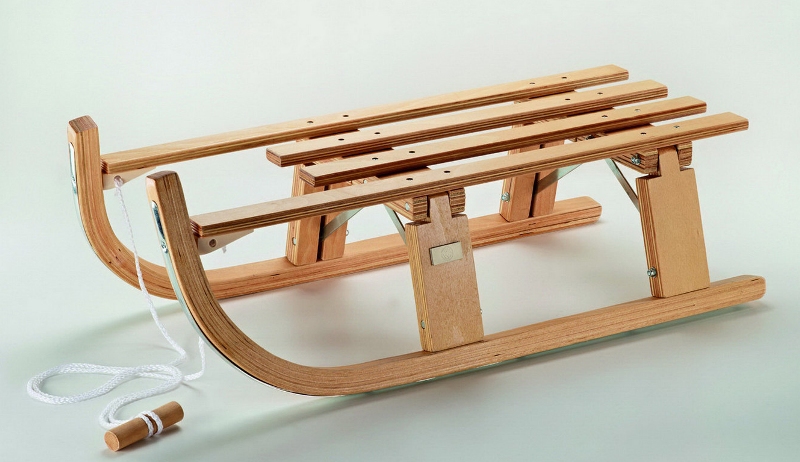
There are a lot of options for sleds. They may differ in design (with back, with seat, threaded, with boards, with additional runners), and in design.
The most important thing is that new sleds should not lie idle, they should be tested at the first snowfall, so you will not only have fun, but also be able to see visually whether additional processing or repair is required.
After you can make a sledge with your own hands, even if it is for children, the winter will be even more welcome and fun for you. Good luck!
For information on how to make sleds, see the next video.


